I'm going to start of today's post by giving myself a nice little pat on the back!
Why, you ask?
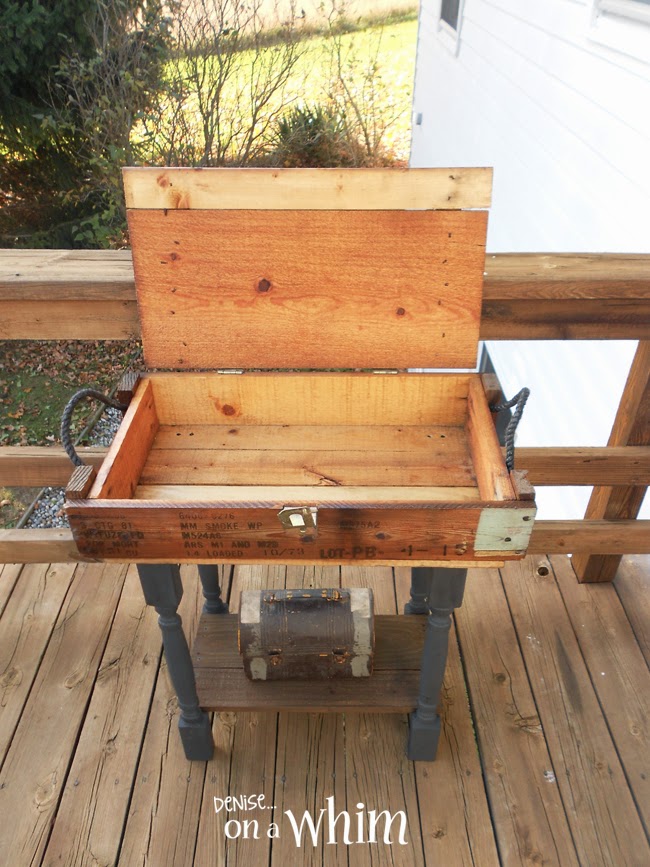
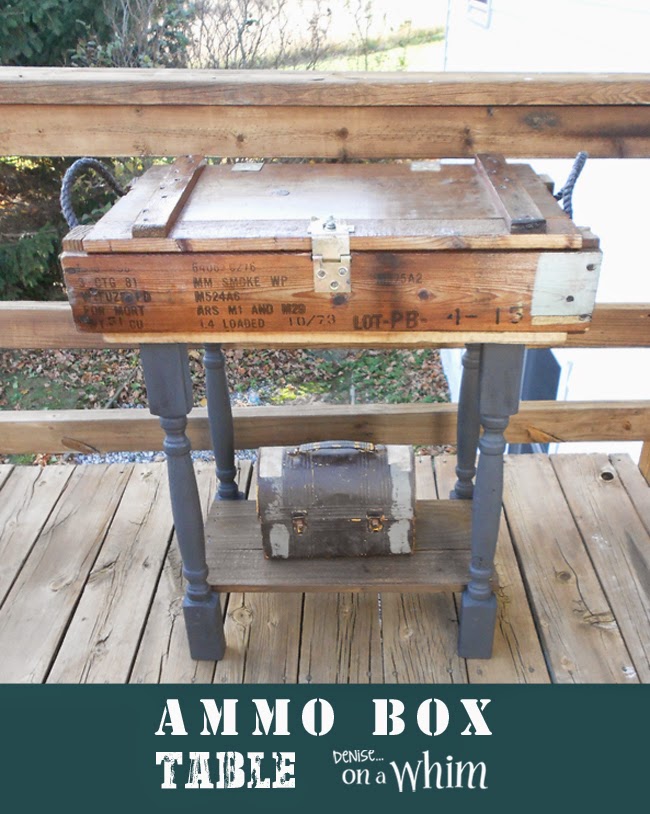
Because I built this table. All. By. Myself!
And I'm feeling pretty darn proud!
I grabbed this ammo box from a garage sale this summer.
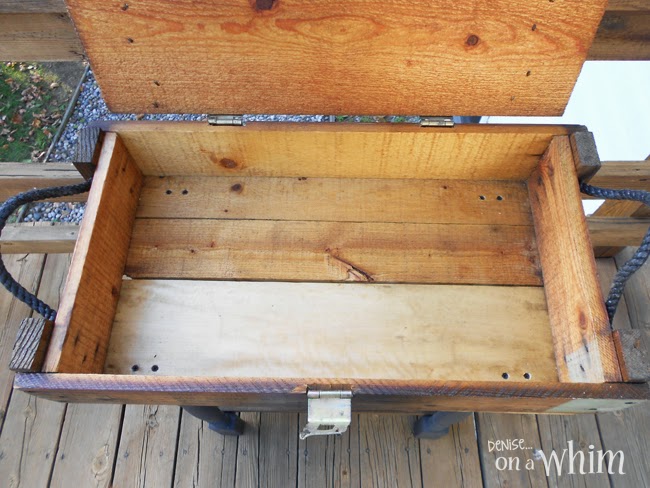
The inside got the same amount of poly.
Finally!
Now, take a look at some of the great details on this old box.
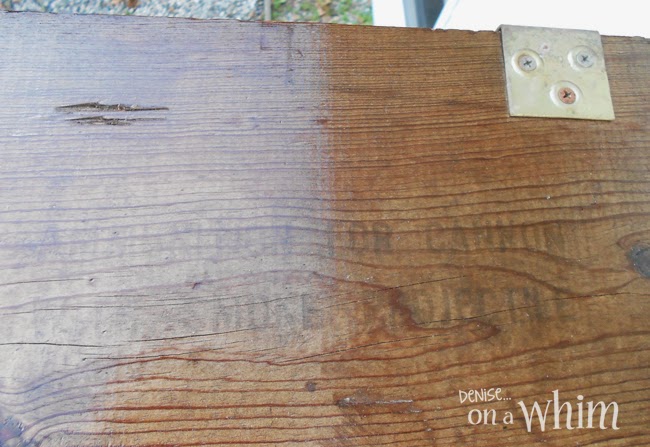
Like the words "ammunition for cannon" stamped on the top.
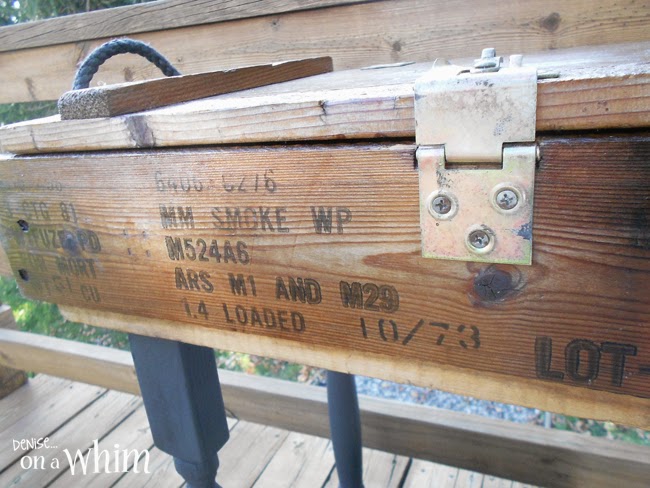
More great stamping on the front and some wonderful old hinges.
All of the original screws were inside the box when I bought it.
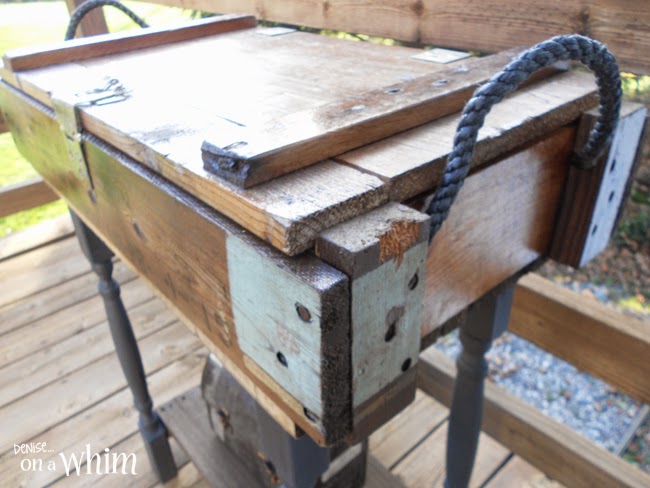
And the rope handles are still intact and in good condition, too!
What a perfect box with so much character!
And I think I did it proud with this repurpose.
Let's keep in touch...
Why, you ask?
Because I built this table. All. By. Myself!
And I'm feeling pretty darn proud!
I grabbed this ammo box from a garage sale this summer.
It was in great condition!
I started by using a vinegar and oil mixture to bring out the natural beauty of the wood.
I had never tried it before but it worked really well.
Then I put about 4 coats of poly on the ammo box.
I wanted it to shine!
The inside got the same amount of poly.
Next up was the legs.
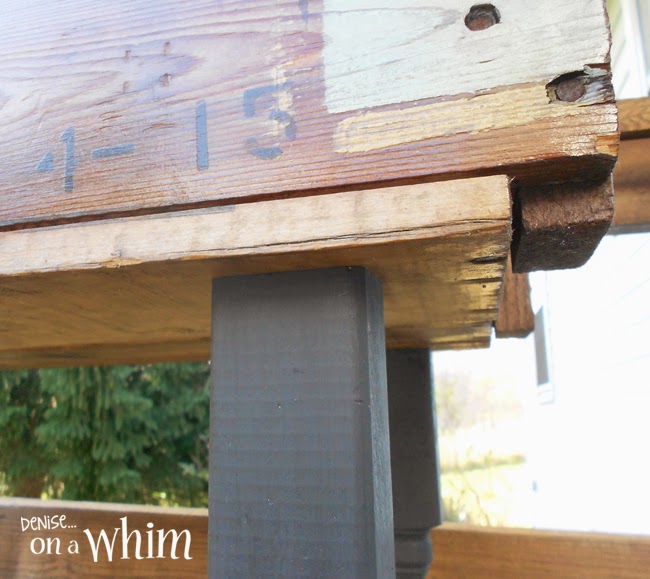
I cut a couple of stair banisters down to size and painted them
with Beckley Coal from Cece Caldwell.
I knew the tricky part for me was going to be attaching the legs.
The attaching... not so hard.
Getting them straight... a little tougher.
I measured and measured again.
Then I drilled holes in the legs and the bottom of the box.
And, what do you know?
I got those legs on straight and even!
Phew!
Straight legs was one step in the right direction.
But not quite good enough.
They need to be shored up a little so the table would be nice and sturdy.
So I cut 2 cross bars and put poly on those, too.
I asked a friend for advice and was told
to use some dowels to attach the crossbars to the legs.
So I picked up some dowels, drilled holes in the crossbars and glued those dowels in.
Then I drilled 4 holes in the legs.
Thank goodness I didn't get carried away and drill all the holes because,
once I had the front-to-back crossbars on,
I realized I wanted to go in a slightly different direction.
Luckily for me and my very basic building skills,
I found 2 pallet boards that fit perfectly in between the legs.
I cut them to size and got out the poly again.
Then I simply screwed the boards onto the 2 crossbars
for an instant bottom shelf!
Then the table was complete.Finally!
Now, take a look at some of the great details on this old box.
Like the words "ammunition for cannon" stamped on the top.
More great stamping on the front and some wonderful old hinges.
All of the original screws were inside the box when I bought it.
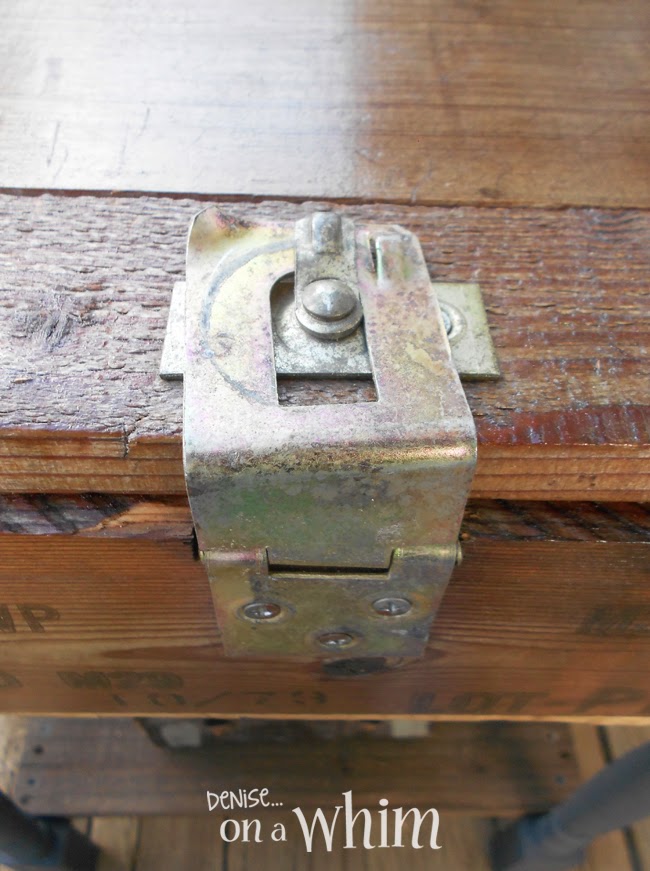
This is the original latch.
Sort of.
The latch that was on the box was bent and wouldn't close any longer.
But, lucky for me, there was another identical latch inside the box.
So I swapped them out and now the box latches closed!
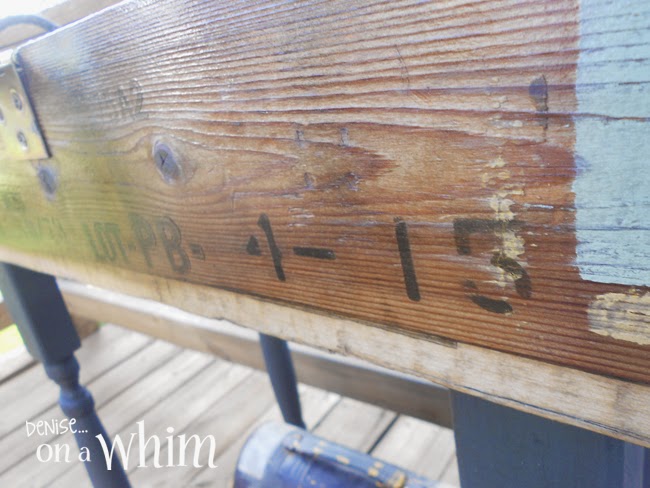
I love how the box has some quirky patches of light blue on the corners.And the rope handles are still intact and in good condition, too!
What a perfect box with so much character!
And I think I did it proud with this repurpose.
Let's keep in touch...
Your comments make me smile :) 'Til next time!





No comments:
Post a Comment
I love hearing from you and read all of your comments. They make my day! I'm sorry I can't reply to every one of them, but I sure do love reading them and appreciate every one!