This past weekend, after Thanksgiving, I got all of my Christmas decorating done!
Woohoo!
I have a few special areas I want to share with you
and today it's my star-themed shelf.
As I told you last week, when I revealed my
I went with a white and burlap star theme on my Printer's Tray Shelf.
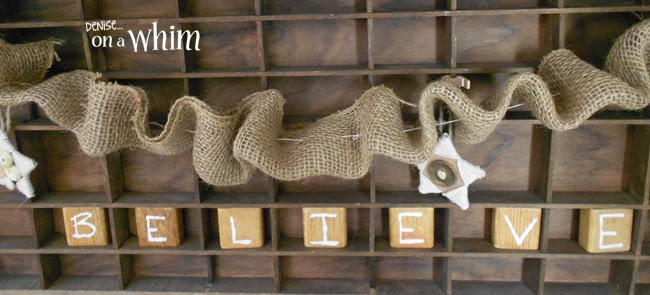
I first made a small burlap garland to hang in front of the tray area.
I cut a piece of burlap to my desired length and then folded it in half lengthwise.
Then I took a needle and added thread through the length of it,
bunching it as I went.
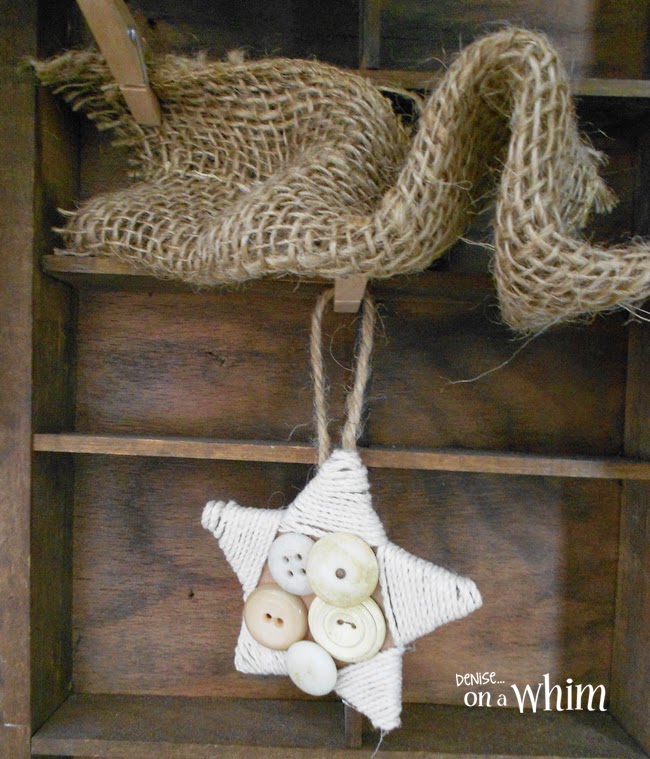
I cut stars out of cardboard,
using my cookie cutter as a stencil,
and wrapped twine around them,
dabbing hot glue here and there to keep it in place.
Then I added some vintage buttons in the middles.

I used small clothespins to attach them to the tray.
I added some wooden building blocks under the stars and garland.
Then I got to work on the shelf itself.
I took a couple of pieces of shipping crate that I had left,
roughly screwed them together so they would fit the width of the shelf,
and wrapped burlap around them,
stapling along the back.
This became the backdrop for the shelf area.
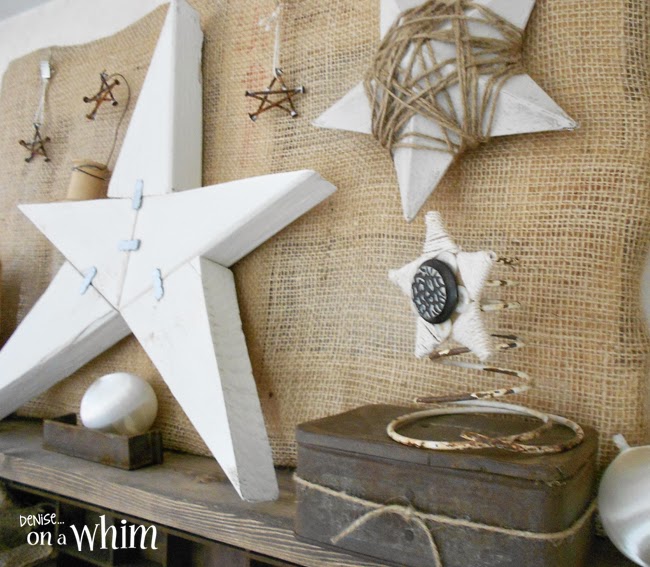
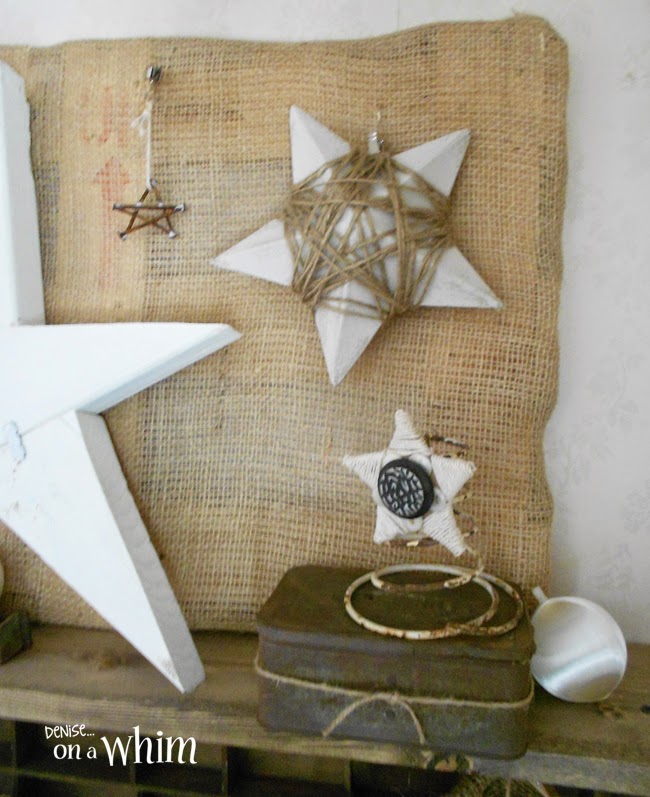
I found a very cheap paper mache star at the store and painted it white,
then wrapped jute around it every which way,
using hot glue on the back to attach the jute.
I added a rusty old tin and a spring,
attaching another cardboard star to the spring with a magnet.
Sitting in the middle of the shelf,
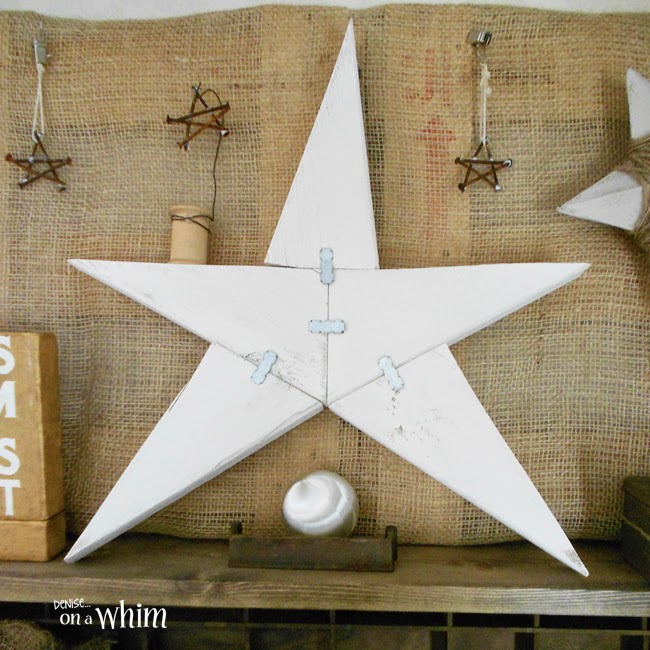
is a quick and easy wooden star I made from wood scraps
a friend gave to me and some wood joiners.
I painted the scraps white, added some wood glue and then
the joiners to give it a rustic look.
I made a few rustic stars out of rusty nails
that I've pulled out of pallets.
Of course, when I got the metal glue,
I didn't realize it was white.
Clear would have been a better fit for this project
I clipped them on to the burlap backdrop and
hung one from a wire hook I made on a vintage thread spool.
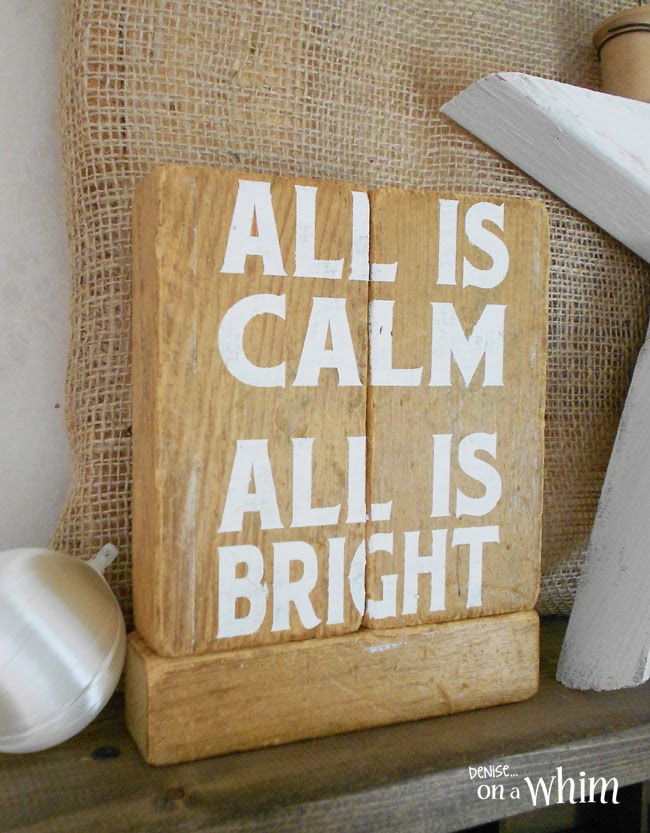
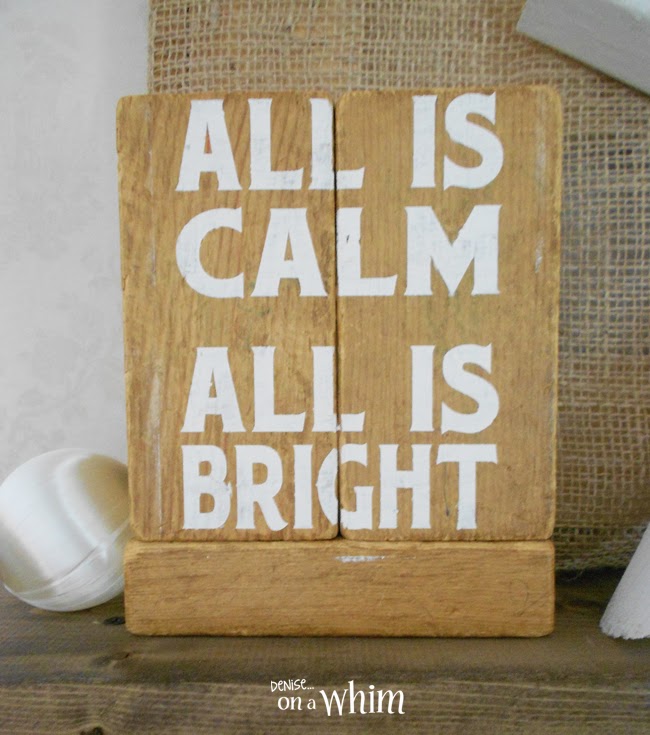
And, finally, I added a small sign.
All is calm. All is bright.It seemed so appropriate for a shelf full of stars!
The sign is made from old wooden building blocks simply glued together.
I added a few white vintage ornaments and my shelf was done.
And I'm really in love with it.
Hope you've enjoyed it, too!
Your comments make me smile :) 'Til next time!









No comments:
Post a Comment
I love hearing from you and read all of your comments. They make my day! I'm sorry I can't reply to every one of them, but I sure do love reading them and appreciate every one!