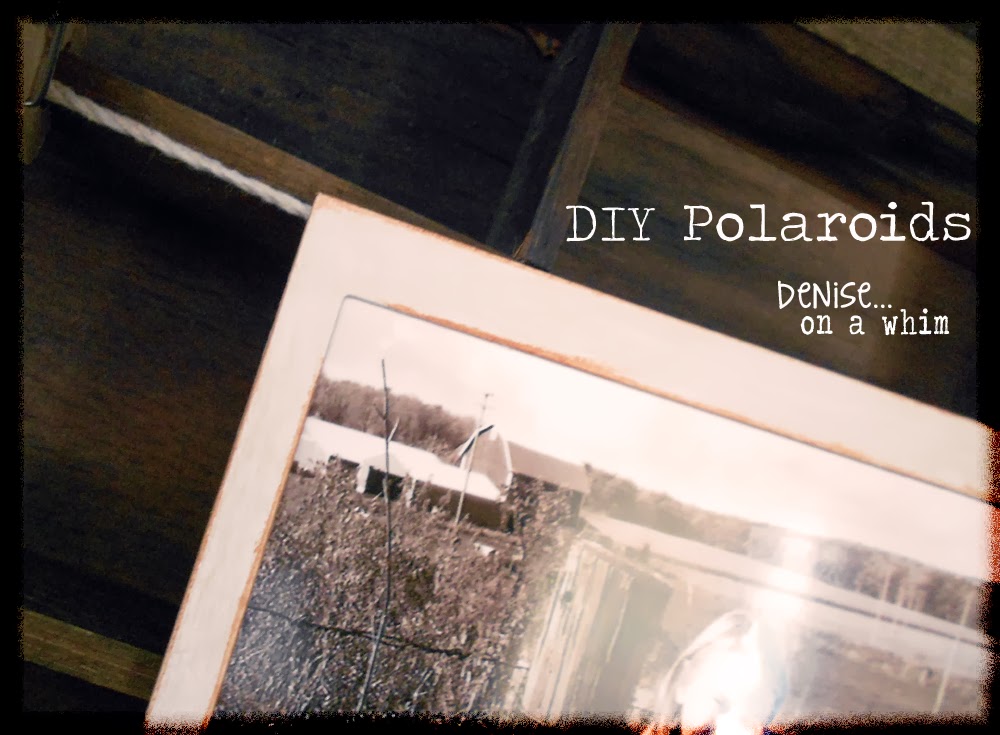
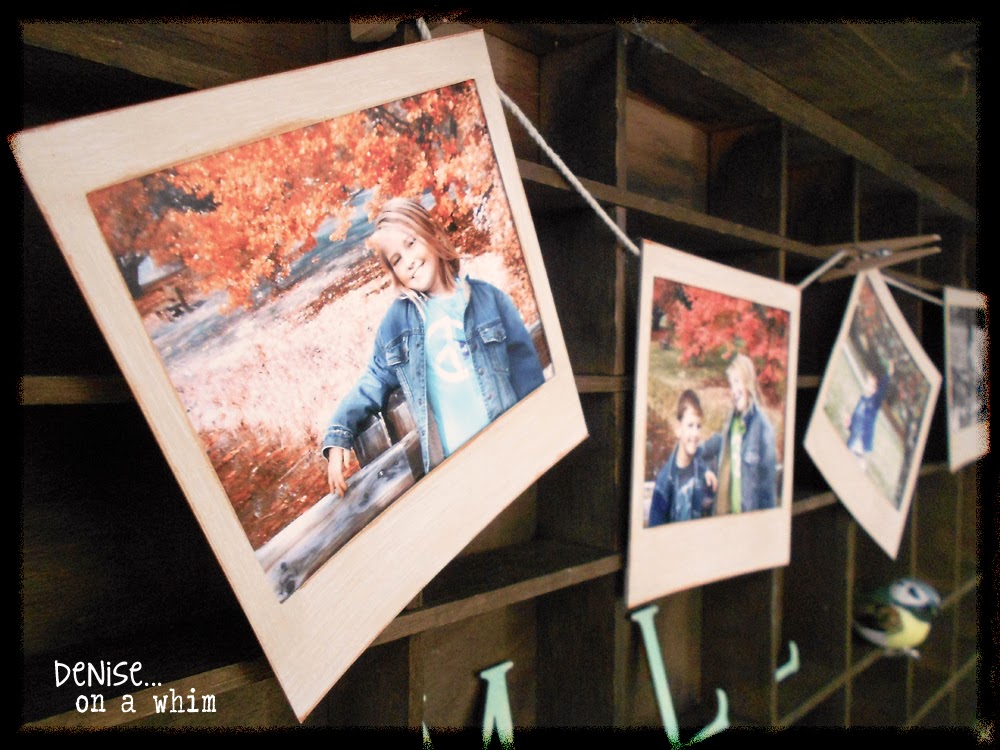
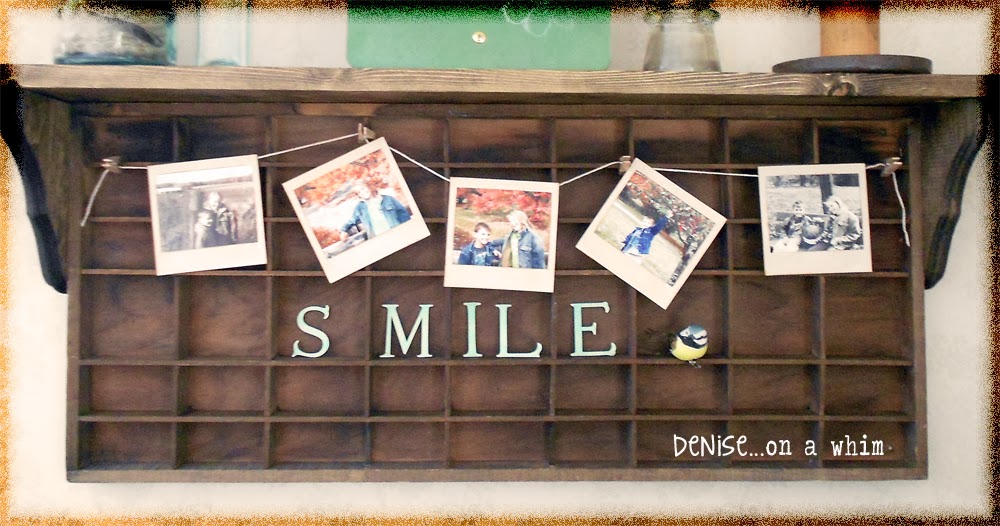
I've been planning to make this darling Polaroid Banner for some time now. As is often the case for my own projects, necessity lit a fire under me and I finally got it done!
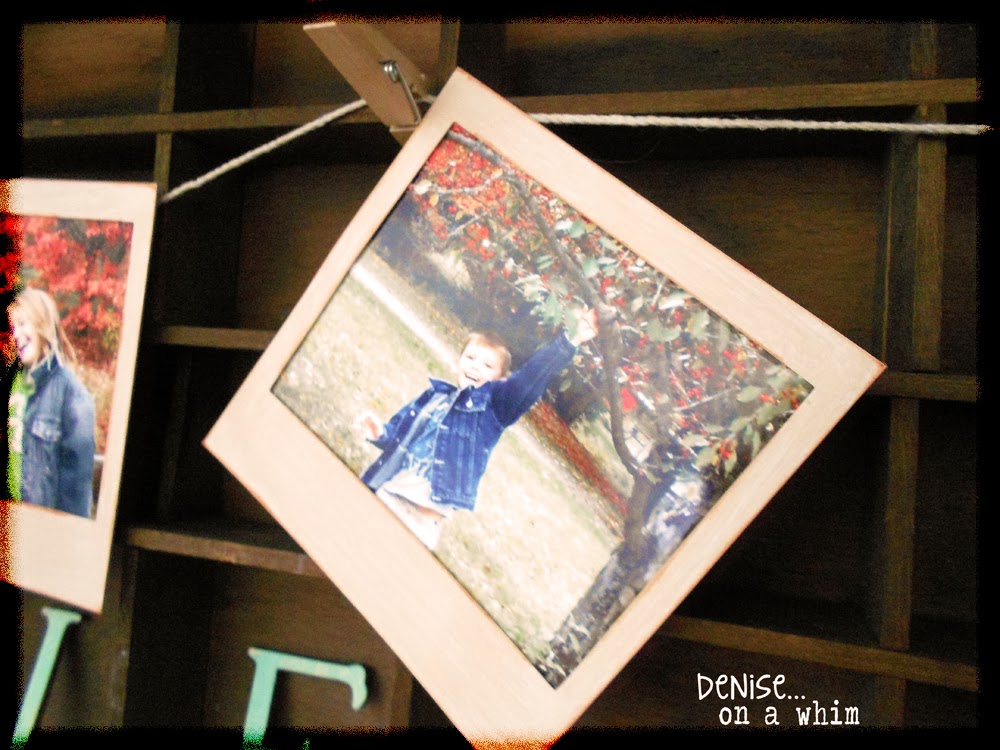
It's an off-white, beige color and worked out perfectly for giving the frames a bit of an aged appearance.
On the edges, I used a stamping product that is specifically designed for aging the edges of scrapbook paper. But it's basically just an ink pad with brownish ink and any sponge with ink would do. I happen to have it from when I used to scrapbook all the baby photos.
I placed a frame on each photo to determined where I would trim them and then I grabbed my scissors and cut away the excess. Straight lines aren't even required as they'll be hiding behind the frame anyway. I added some Mod Podge to the backs of the frames and applied my photos.
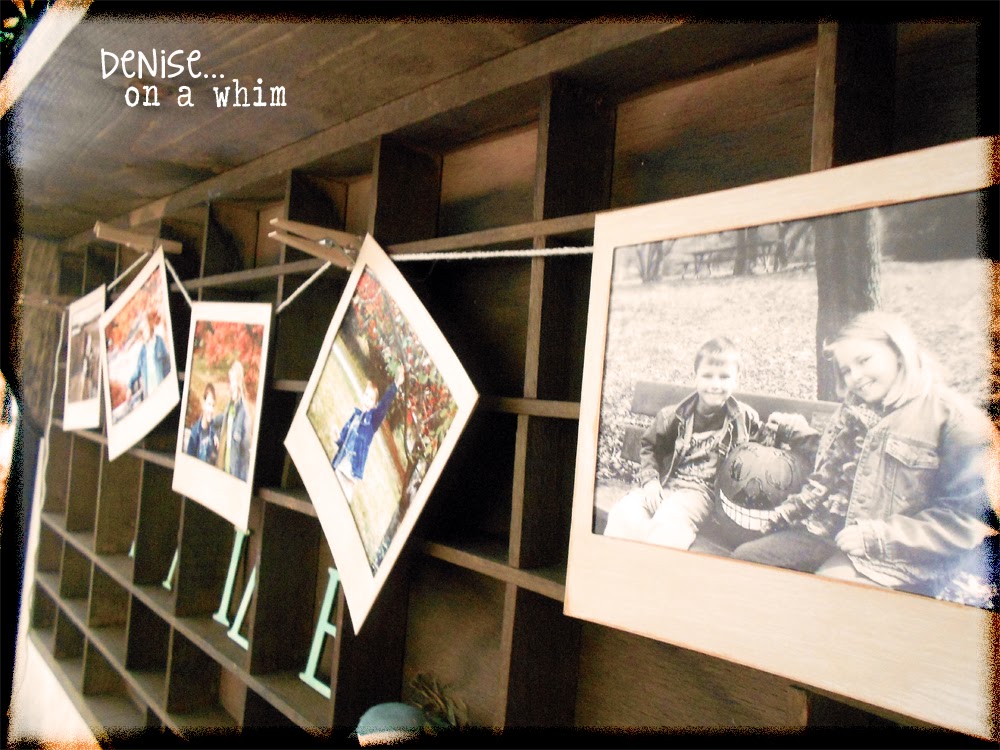
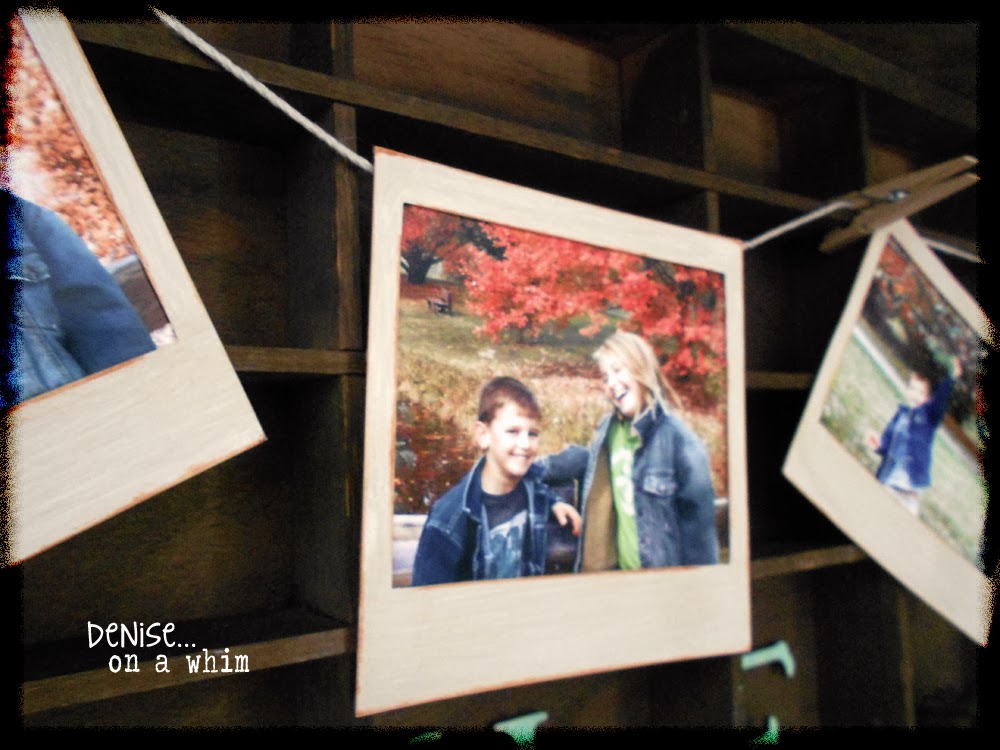
When the photos had dried onto the frames, I cut a piece of twine the desired length (in my case, the length of my new Printer's Tray Shelf, which I'll be sharing with you next week). Using hot glue, I attached the photos to the twine. The two ends and the middle photo I attached at both top corners and the alternating 2 photos I only attached on one corner, so they would tilt when I hung the banner. If you have some acid-free tape on hand, that would be even easier than the hot glue! I was fresh out. I attached the banner to the shelf with some mini clothespins.
I originally saw this idea over at Sugar and Cloth. Ashley used wooden Polaroid frames to make a wonderful gift set. They didn't have the wooden option at my local Michaels Store but they did have the Recollections chipboard version so I bought them!
It isn't often that I have actual printed photos hanging around the house. Ones that aren't in frames or attached to scrapbook pages already anyway. But I'd taken some pretty nice photos of the kids back in the fall, had a few printed and then never got any frames for them. I guess my procrastination was a good thing because I used those photos to create this banner.
It was a very simple project. The frames themselves were plain white. I wanted them to look aged so I painted them with Martha Stewart Paint in Wedding Cake. I had plenty leftover from my Shabby Birdcage.It's an off-white, beige color and worked out perfectly for giving the frames a bit of an aged appearance.
On the edges, I used a stamping product that is specifically designed for aging the edges of scrapbook paper. But it's basically just an ink pad with brownish ink and any sponge with ink would do. I happen to have it from when I used to scrapbook all the baby photos.
I placed a frame on each photo to determined where I would trim them and then I grabbed my scissors and cut away the excess. Straight lines aren't even required as they'll be hiding behind the frame anyway. I added some Mod Podge to the backs of the frames and applied my photos.
When the photos had dried onto the frames, I cut a piece of twine the desired length (in my case, the length of my new Printer's Tray Shelf, which I'll be sharing with you next week). Using hot glue, I attached the photos to the twine. The two ends and the middle photo I attached at both top corners and the alternating 2 photos I only attached on one corner, so they would tilt when I hung the banner. If you have some acid-free tape on hand, that would be even easier than the hot glue! I was fresh out. I attached the banner to the shelf with some mini clothespins.
See, I told you it was easy. And it's the perfect compliment to my new shelf! After painting my Entertainment Center and updating my Gallery Wall, my living room is looking pretty spiffy for once!
Let's keep in touch...
Your comments make me smile :) 'Til next time!




No comments:
Post a Comment
I love hearing from you and read all of your comments. They make my day! I'm sorry I can't reply to every one of them, but I sure do love reading them and appreciate every one!