Today I'm sharing what I think is a really fun project that I made to keep for my very own. This beauty has a little bit of everything: Beadboard. Chippy Paint. Rusty Metal. Burlap. Chalkboards. Do I have your attention yet?
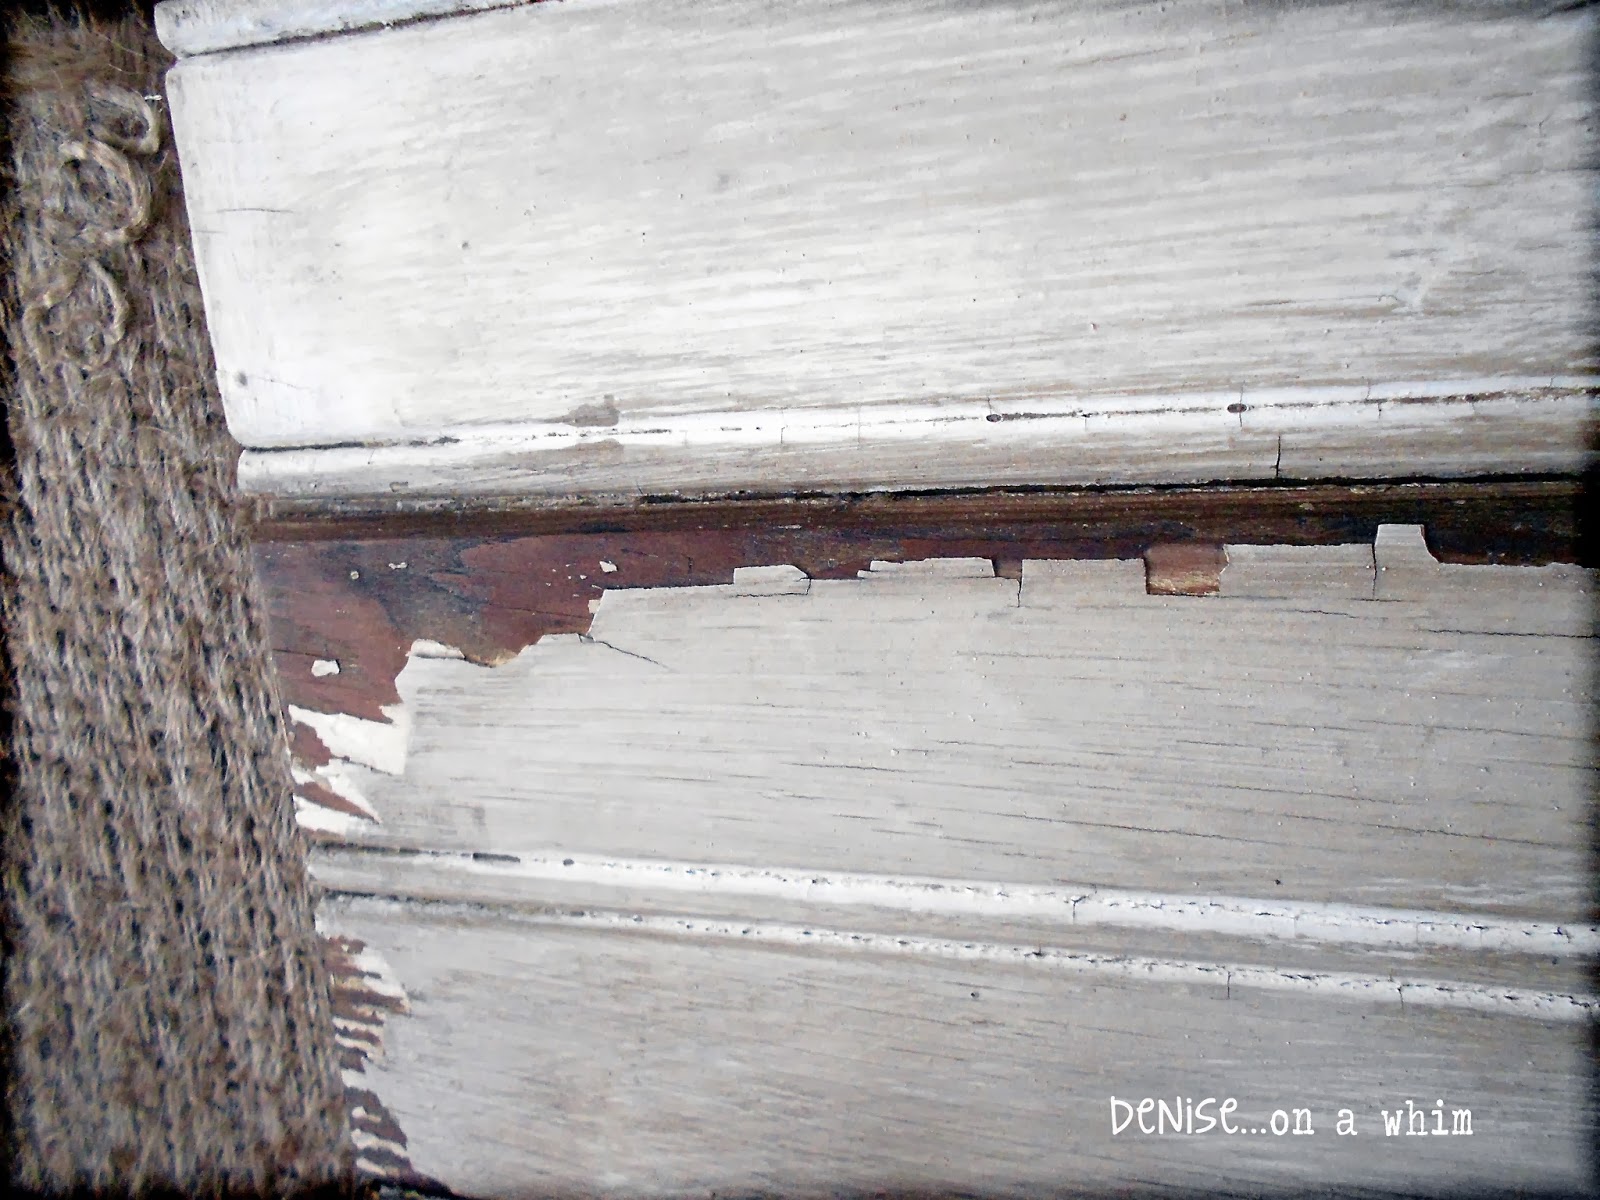
We'll get to all of the goodies in due-time. But let's talk first about the starting point. This beautiful chippy cupboard door. Just look at it...
The door has been the backdrop for numerous photos of other projects. I just love the way it looks. And I knew it would be the perfect base for a cool wall organizer.
It started out pretty close to perfect. But I did do a few things to it. It was just a little too white for me (after I cleaned off all the grime!) and I also wanted the wood showing through to be a touch darker. So I used dark stain on the wood to deepen it and also right over the paint to give it even more of an aged look. Now it's got a slight grayish hue to it (and not because it's filthy, like when I picked it up!)
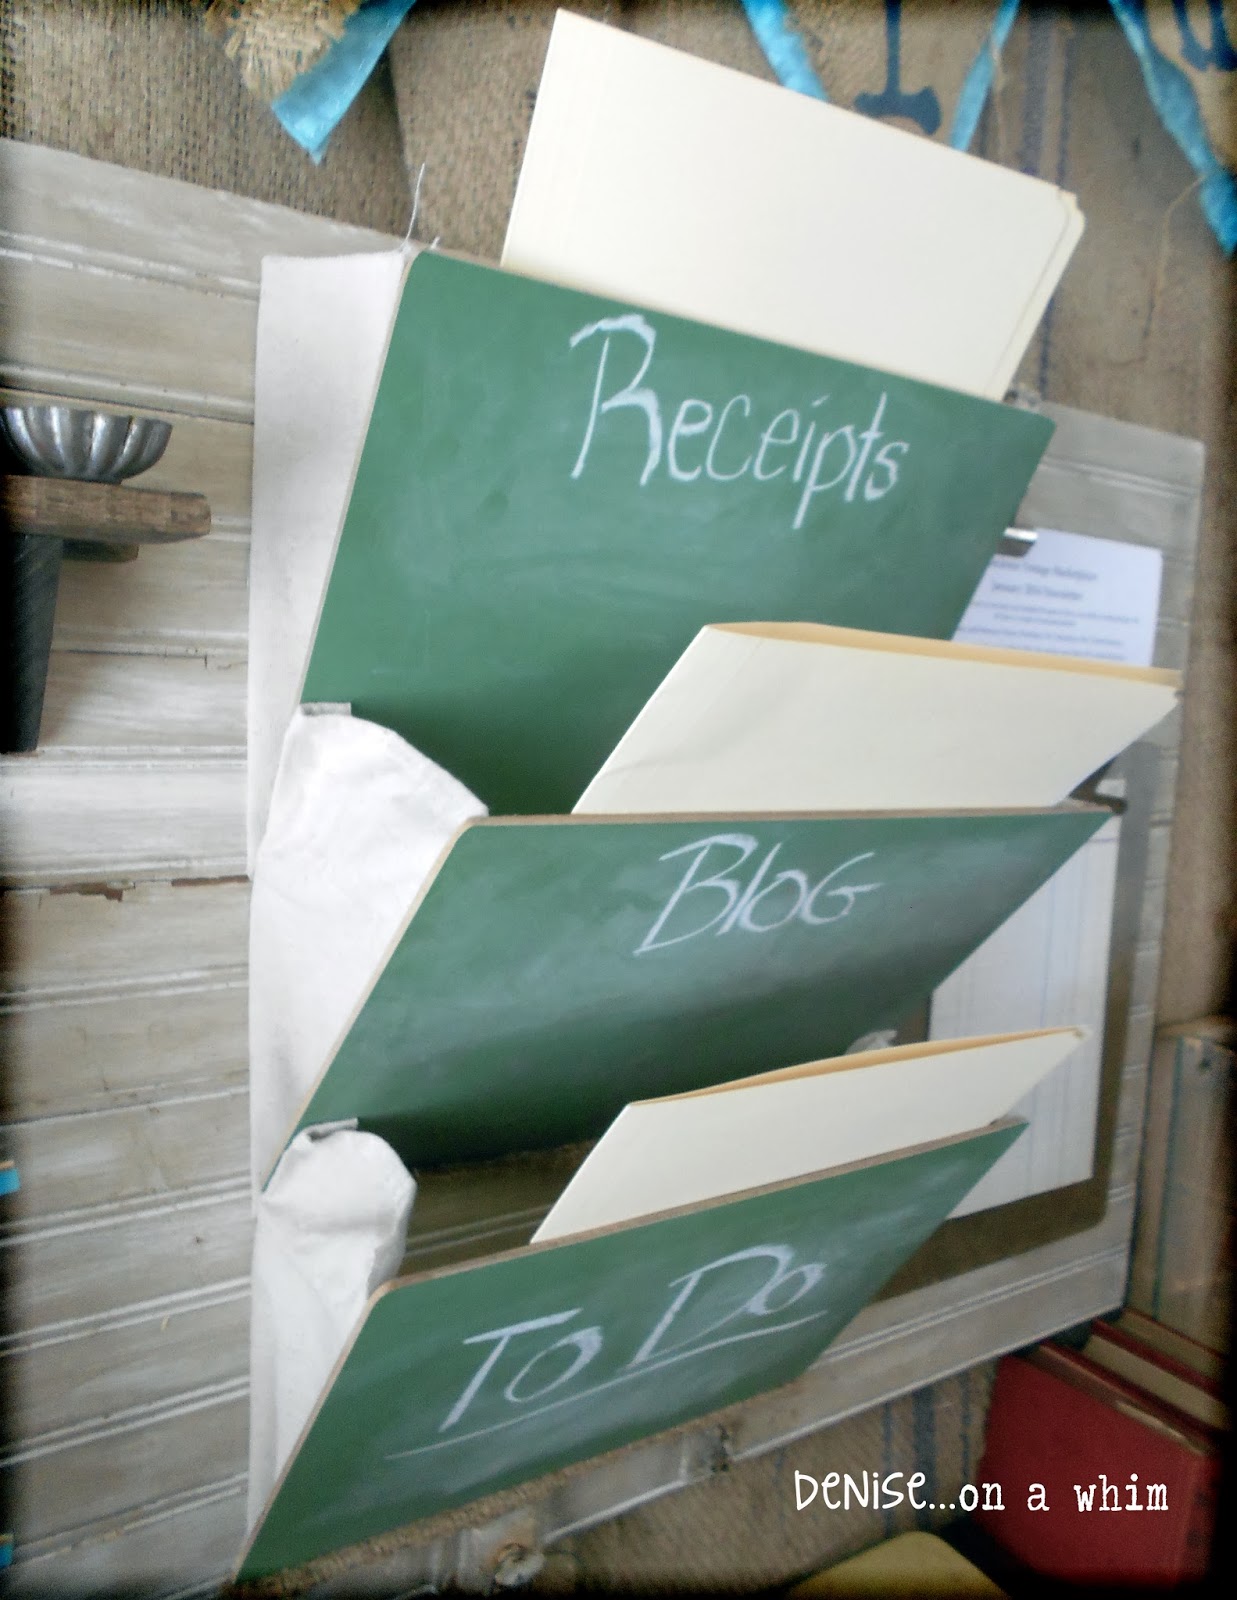
The next thing I wanted to do to it was add file pockets. Who can't use a few more file pockets, right? I had seen this really cool Old Book Mail Organizer and wanted to do something along those lines. I happen to have a stack of old school chalkboard slates and figured I could make those into wall pockets using the same principle as the mail organizer pockets I had seen. I used drop cloth, cut into triangular pieces the same height as the chalkboards and all the same width so they would protrude off the cupboard door the same distance when open.
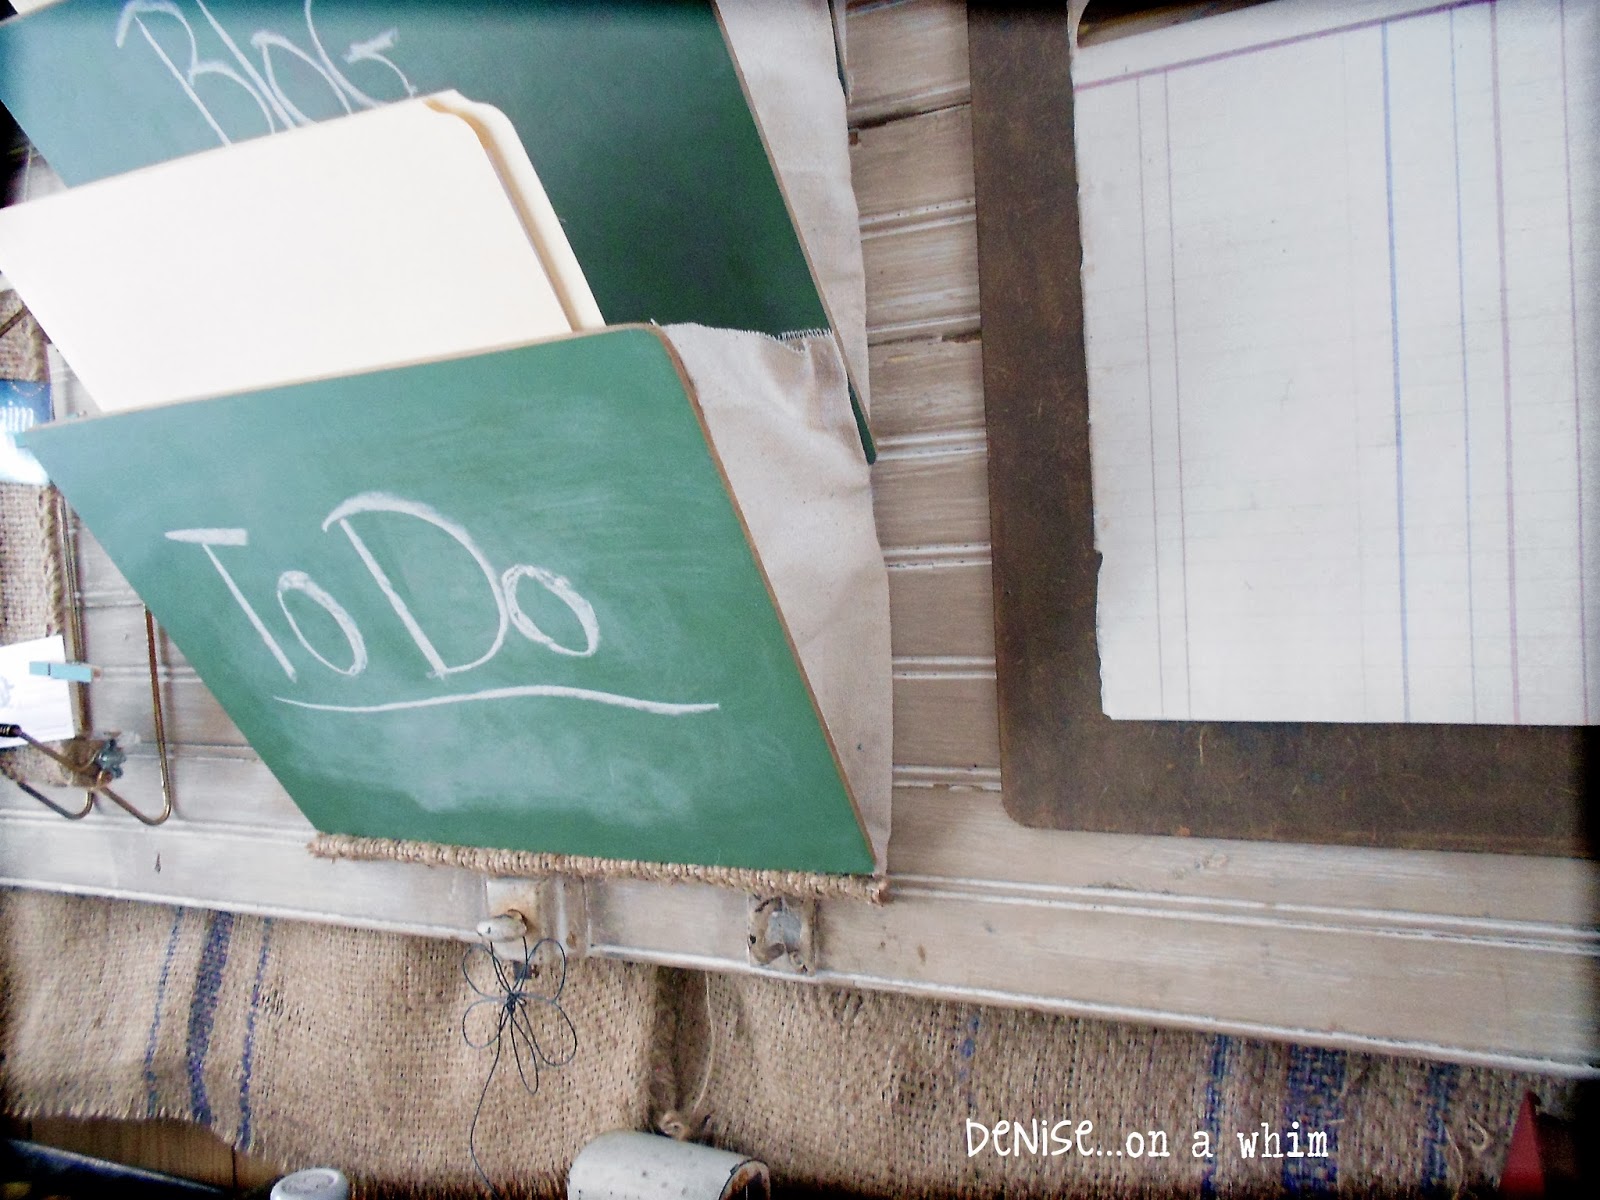
I hot glued the drop cloth to one side of the chalkboard (slightly folding the drop cloth in so there would be an edge to attach it to) and then, after having marked where I wanted to put it on the door, I hot glued the other edge of the triangular fabric to the door. Then I repeated this step for the other side of the chalkboard. I put the top pocket on first, as I knew I would be attaching the next pocket right over the bottom of the first. And finally added the last pocket. {I'm not the best at tutorials. I never seem to remember to take any during photos. So, if I've just totally confused you with what I said about these file pockets, go check out Becky's post at Beyond the Picket Fence to see her not-confusing tutorial.}
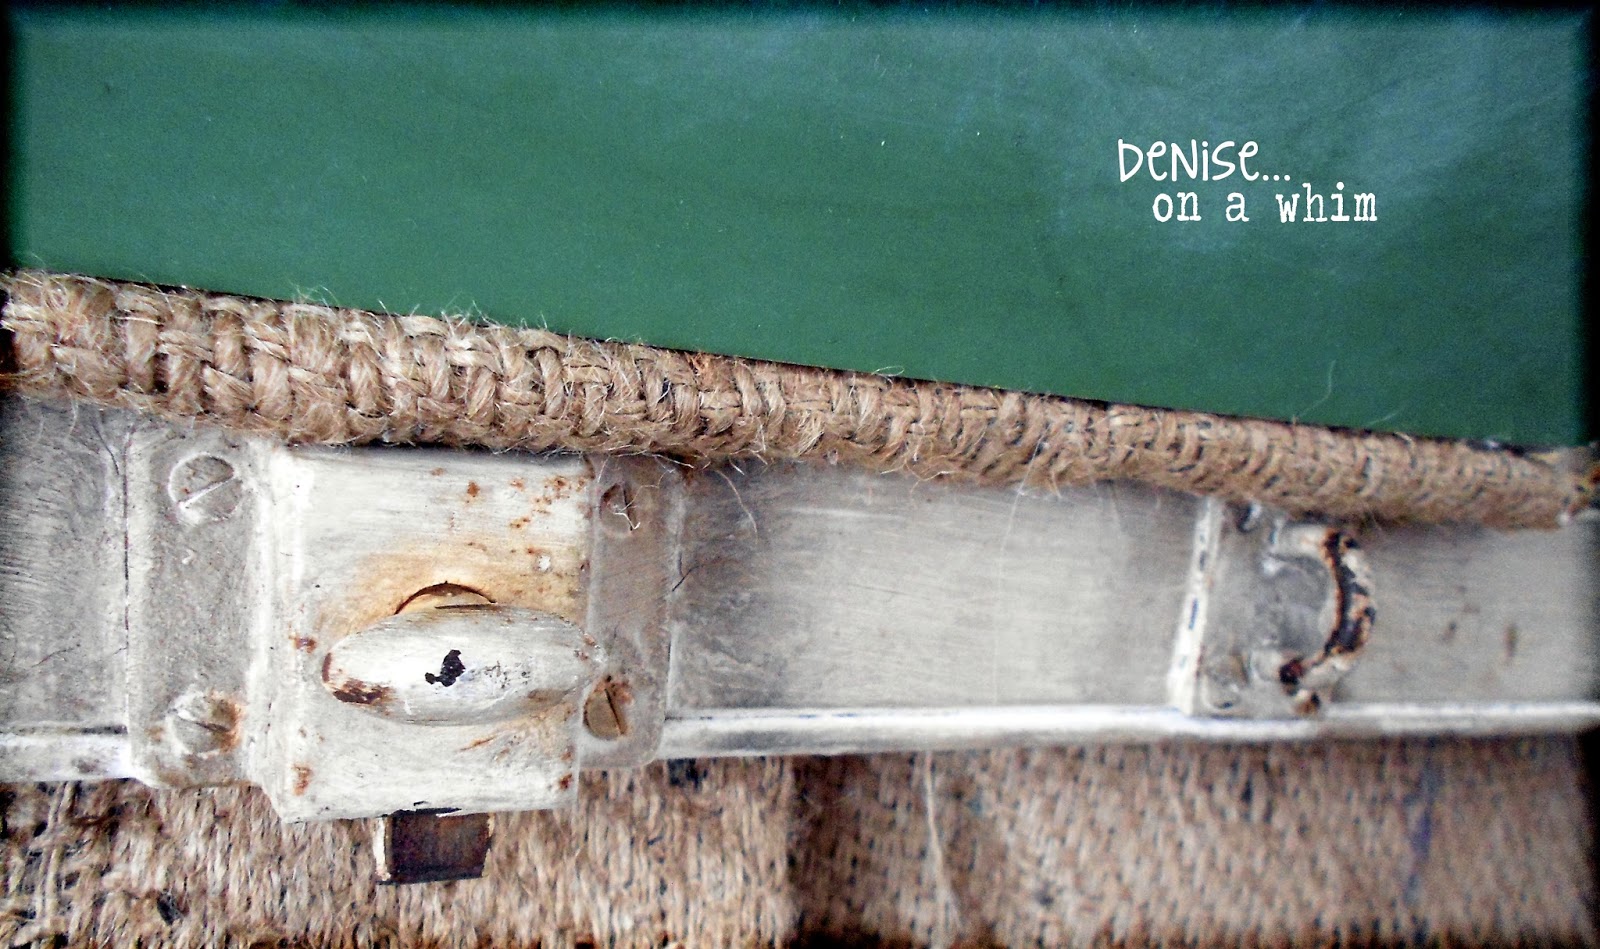
I added a small piece of folded burlap at the bottom of each pocket to account for the gap between the chalkboard and the cupboard door made by the folded drop cloth. Can't have papers sliding out the bottom of the pockets, now can I? :)
It worked out pretty well, except there is slightly too much fabric at the top of the 2nd and 3rd pockets because they aren't sitting flush against the cupboard door. I hadn't thought about that when I cut them all the same size. But this is mine, I'm not selling it, and I can handle the imperfection. :)
Now I have file pockets and chalkboards all in one!
Next up is the clipboard. I didn't have an old, worn clipboard to use. Instead, I grabbed my daughter's. I've already confessed to her and promised to buy her a new one! But hers was relatively new and it just wasn't quite what I wanted for my very junky organizer. I got out the stain and rubbed it on the clipboard with a rag. Now it looks aged and well-used. Perfect! I drilled a hole and inserted a nicely rusted nail into the door, tapping it slightly to attach it, to hang my clipboard on. The nail was so darn rusty, I was afraid to pound it too hard with a hammer because I was quite sure it would break!
And that cool vintage ledger paper hanging on the clipboard? Well, I simply printed that off my desktop printer. It's a free printable over at Knick of Time.
I added a magnet to the back of a slightly rusted bulldog clip with E6000 glue. That chippy hinge there on the cupboard door is magnetic, so why not? Now I've got an extra clip to use!After having placed the file folders and clipboard on the wall organizer, I needed to balance it out on the left hand side. I played around with a few things in my mind, but nothing seemed to look quite right there. Then I saw this thing in my pile of junk. I really didn't know what it was. I'd picked it up at the thrift store thinking I could do something with it. Thanks to my Instagram followers out there, I've since found out it had something to do with jewelry making. Well, not anymore...
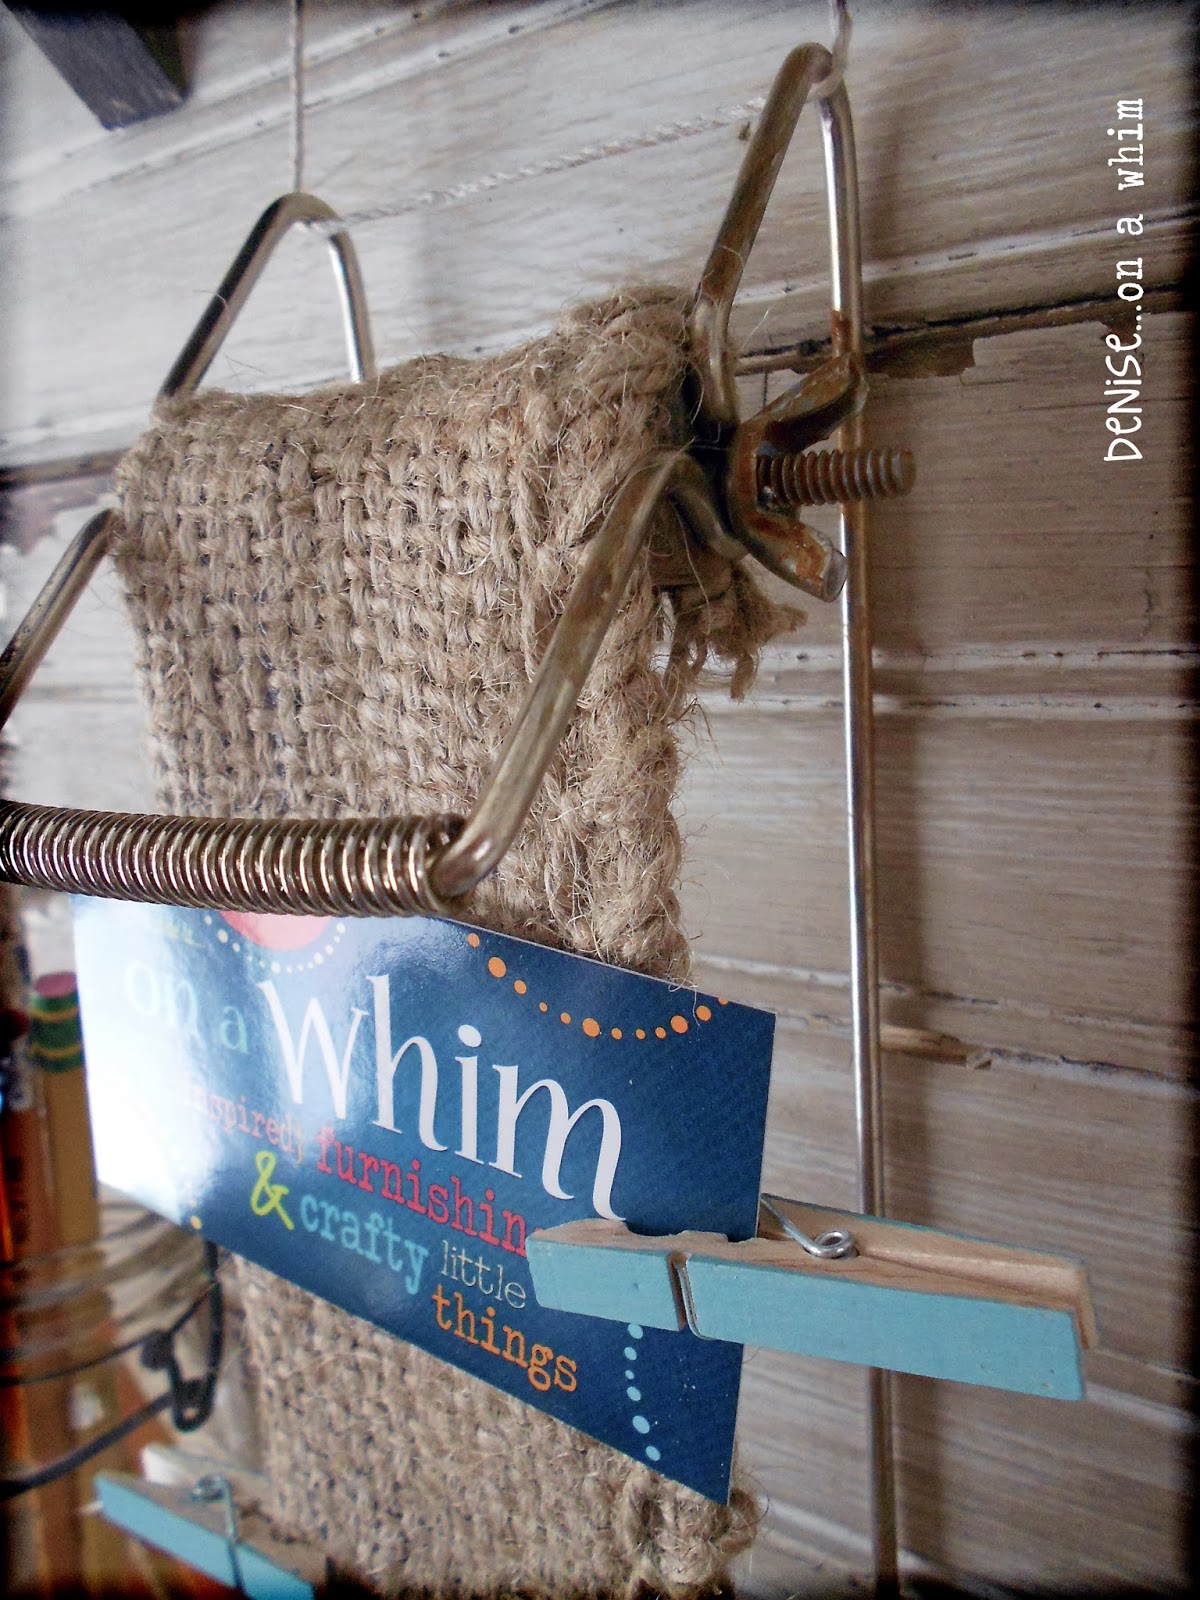
First off, I rusted this up a bit. I sanded the spots that I wanted to rust and I mixed equal parts vinegar and bleach and let the metal soak in the mixture overnight. It was my first time trying this method but it worked wonderfully! After rinsing it off and drying it, I added a strip of burlap and now it's a small memo board. Just the right size for those business cards you want to keep or a little photo! I hung it by using bakers twine and tying it through the holes in the hinge at the top of the cupboard door.
I used a medium sized C-hook to hang this cool glass jar on the cupboard door for pencils. I picked this wonderful jar up for $1.00 at the thrift store.
And finally, I added a small shelf. Cut from scraps of pallet wood and stained a deep brown, this little shelf is the right size to hold my Vintage Ruler Box and a small fluted tin that holds the chalk for writing on my file pockets!
This project was so much fun to make!
I sure hope you've enjoyed seeing it!
I'd love it if you keep in touch...
'Til next time!

Spreading the junk around at these great blog parties...
That DIY Party at DIY Showoff, Give Me the Goods Party at Rain on a Tin Roof, Monday Funday at Creatively Living, Inspiration Monday at twelveOeight, The Scoop at Cedar Hill Ranch, Project Inspired{d}at Cupcakes and Crinoline, Tweak It Tuesday at Cozy Little House, The Power of Paint Party at Domestically Speaking, Fluster's Creative Muster Party at Fluster Buster, Nifty Thrifty Tuesday at Coastal Charm, Brag About It Tuesday at Bebetsy, Knick of Time Tuesday at Knick of Time Interiors, Whimsy Wednesday at Smart School House, Under $100 Linky Party at Beyond the Picket Fence, Wow Us Wednesdays at Savvy Southern Style, From Dream to Reality at The DIY Dreamer, Work It Wednesday at The Blissful Bee, Home and Garden Thursday at A Delightsome Life, Catch As Catch Can at My Repurposed Life, Furniture Feature Friday at Miss Mustard Seed, Inspire Me Please Link Party at Liz Marie Blog, Frugal Friday at The Shabby Nest, Feathered Nest Friday at French Country Cottage, What Have You Redone at Redoux Interiors, Thrifty Things Friday at The Thrifty Groove, Simple and Sweet Fridays at Rooted inThyme, Be Inspired at Common Ground, Fabulously Creative Friday at Jennifer Rizzo, Show and Tell Friday at Romantic Home, Junkin' Joe Vintage and Thrifty Finds at The Cottage Market, Link Party Palooza at Tatertots and Jello, Tickled Pink at 504 Main, Best of the Weekend at A Little Claireification, Saturday Show and Tell at Cheerios and Lattes, Saturday Nite Special at Funky Junk Interiors, A Bouquet of Talent Party at Life on Lakeshore Drive, DIY Showcase Party at Minette's Maze, Share It One More Time at One More Time Events







No comments:
Post a Comment
I love hearing from you and read all of your comments. They make my day! I'm sorry I can't reply to every one of them, but I sure do love reading them and appreciate every one!