Sometimes you pick up a great piece of junk and you just know you're going to use it for something awesome. Somehow. But you're just not sure how at first. So it sits for awhile. Unused. Maybe feeling a little unloved. That's exactly how this little bin's story goes. Until now.
A few weeks ago, I shared my Junky Office Wall Organizer with you. Originally, I thought this bin was going to end up on that project. But it just didn't work with the other things I wanted to include on the organizer. Maybe this bin was just a little too cool to be anything but the center of attention.
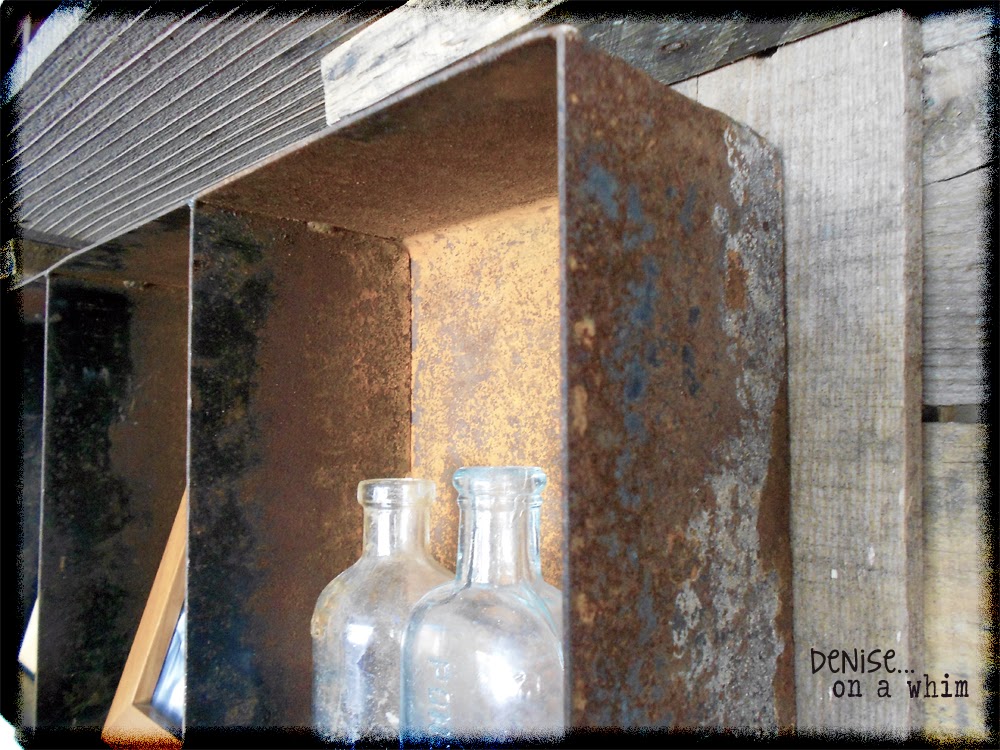
I mean, just look at all that RUST!
Since it was in my house after not making it onto the wall organizer, I saw it every morning. And wondered. Just what will I do with this bin? Eric had already drilled holes in the bin so I could attach it to the wall organizer. So I figured I would run with that original plan. But give it a little twist. I'd build a pallet wood backer for the bin to attach to.
I got out my saw and cut 3 boards to the same length. Then I cut 2 more shorter boards to run crosswise over those. I used wood glue and nails to attach the 3 longer boards onto the 2 shorter boards. I was going to put the bin on that backer and call it good. But that wasn't enough of a plan. So I grabbed 3 leftovers from my previous cuts that were the same length and attached those to the back of the boards, running directly behind the original 2 shorter boards and also placing one in the center, so 3 boards hung down below the original base.
Then I attached a board onto those 3 extending boards. And added one of the same length onto the top. Now it was more substantial. But still not done.
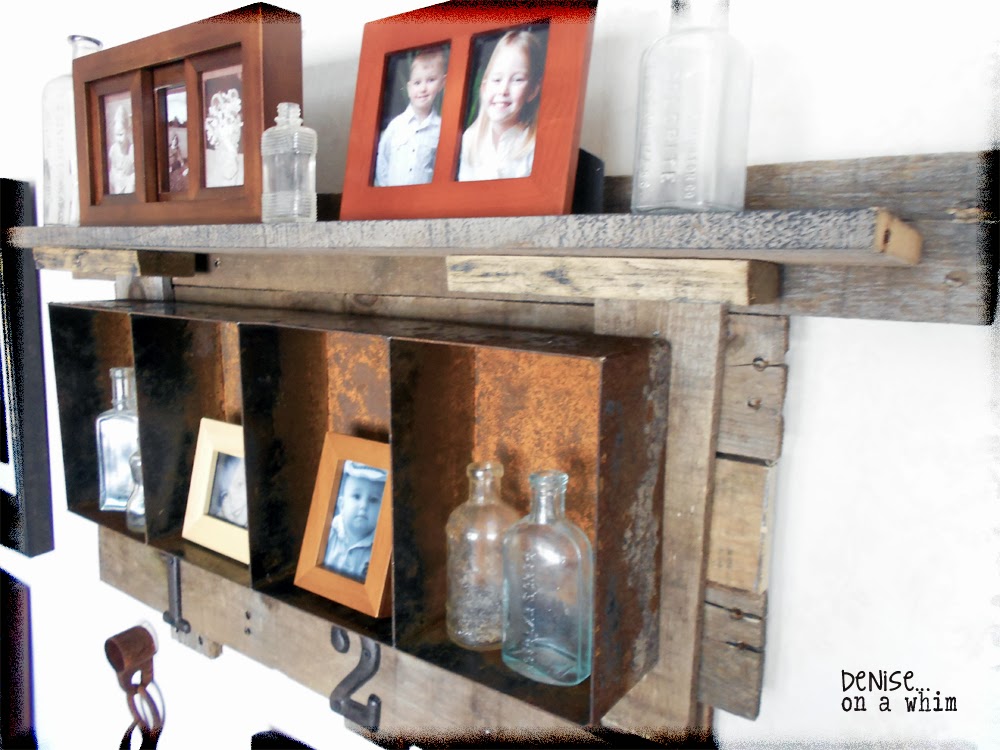
I found another board, not pallet wood but equally weathered and just a bit larger in depth. Just the right size for a shelf over the bin. I placed it on to see how it would look and, well, that's just what it needed! I grabbed 2 small pieces of wood. Truth is, it was 1 piece that had accidentally split apart awhile ago and, since I never throw anything away (like ever), I still had them around. I marked where they would need to be attached to the shelf board with a pencil and then used some wood glue and screws to attach them together. Next, from the back side, I drilled holes through the original base and the split pieces of wood. It's important to drill before screwing when using pallet wood because it will typically split if you don't. (Yeah, I know from experience.) I used 4 larger screws to attach the shelf to the wall base. I put a little black paint on the shelf and the split boards to dirty them up a bit and coordinate with the metal bin. The shelf seems very sturdy and, since I'm not selling this piece, I know I'm not going to put anything too heavy on it anyway.
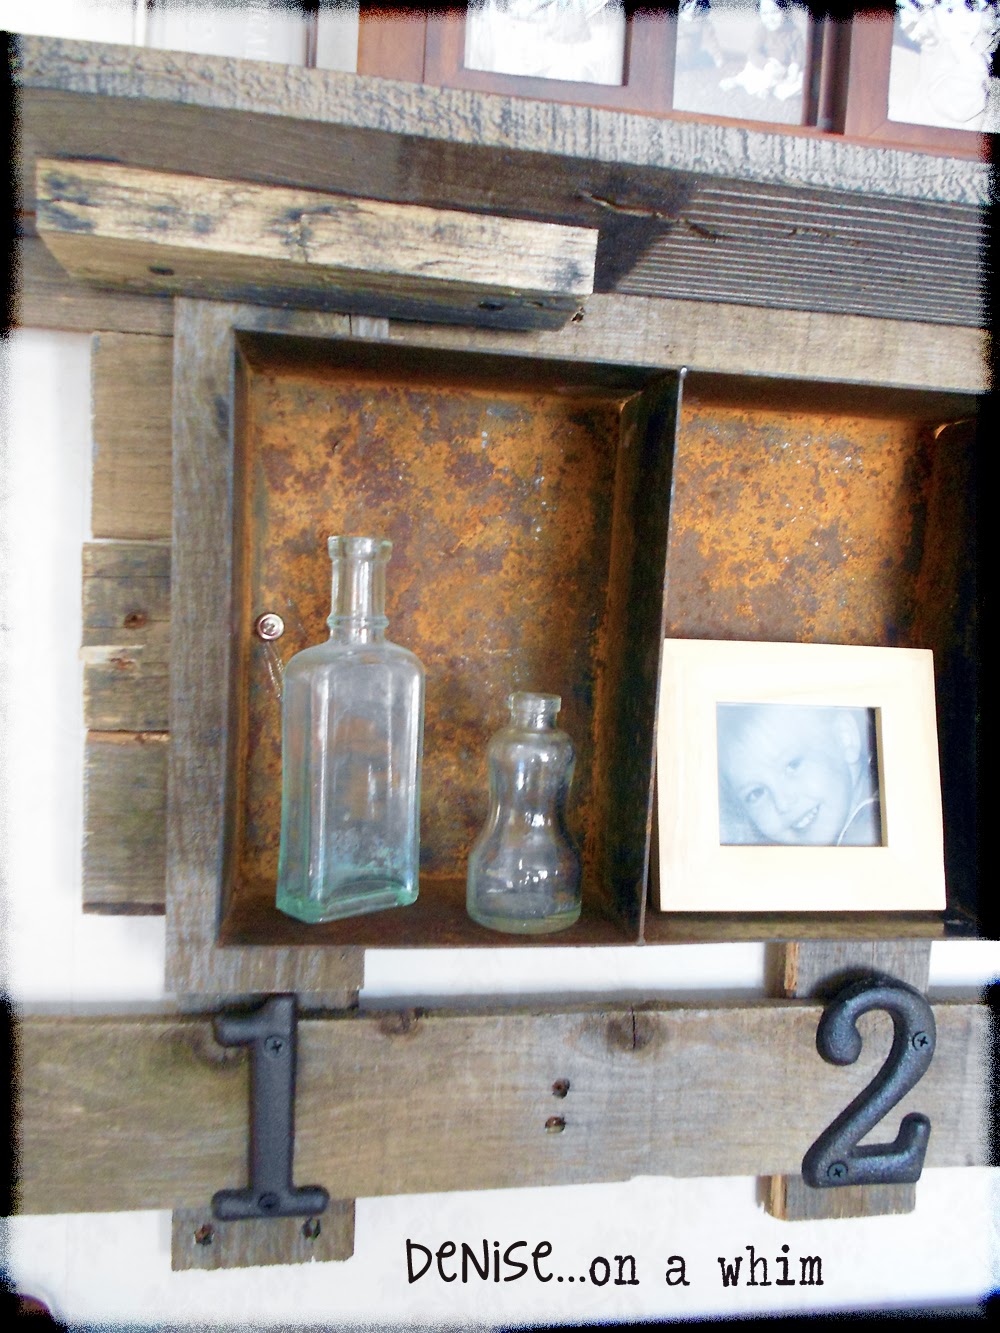
I added the fun numbers onto the bottom cross bar. 1. 2. 3. Because, for now, it's a gallery wall of me and my 2 kiddos. That will eventually change, but for now it's just us 3 in the house. Besides, when circumstances change (i.e., Eric and I actually live in the same town and can get married and all that jazz), we'll be in a different house anyway. So we'll need a whole new gallery wall :)
It's really a great piece for my new gallery wall. And it just goes to prove that you shouldn't rush some things. Sometimes you have to wait to find the perfect purpose. That goes for rusty metal bins and people, too. I never would have guessed 3 years ago that I would find my bliss in making something like this. But, over the last year or so, I sure have found a new purpose for me, as well as this great bin!

Let's keep in touch...
Your comments make me smile :) 'Til next time!

Rusting up the place at these great blog parties...
That DIY Party at DIY Showoff, Sundays at Home with Thoughts From Alice, Link It or Lump It Sunday at Soho Sonnet, Give Me the Goods Party at Rain on a Tin Roof, Monday Funday at Creatively Living, Inspiration Monday at twelveOeight, The Scoop at Cedar Hill Ranch, Project Inspired{d}at Cupcakes and Crinoline, Tweak It Tuesday at Cozy Little House, The Power of Paint Party at Domestically Speaking, Fluster's Creative Muster Party at Fluster Buster, Nifty Thrifty Tuesday at Coastal Charm, Brag About It Tuesday at Bebetsy, Knick of Time Tuesday at Knick of Time Interiors, Whimsy Wednesday at Smart School House, Under $100 Linky Party at Beyond the Picket Fence, Wow Us Wednesdays at Savvy Southern Style, From Dream to Reality at The DIY Dreamer, Work It Wednesday at The Blissful Bee, Home and Garden Thursday at A Delightsome Life, Catch As Catch Can at My Repurposed Life, Furniture Feature Friday at Miss Mustard Seed, Inspire Me Please Link Party at Liz Marie Blog, Frugal Friday at The Shabby Nest, Feathered Nest Friday at French Country Cottage, What Have You Redone at Redoux Interiors, Thrifty Things Friday at The Thrifty Groove, Simple and Sweet Fridays at Rooted inThyme, Be Inspired at Common Ground, Fabulously Creative Friday at Jennifer Rizzo, Show and Tell Friday at Romantic Home, Junkin' Joe Vintage and Thrifty Finds at The Cottage Market, Link Party Palooza at Tatertots and Jello, Tickled Pink at 504 Main, Best of the Weekend at A Little Claireification, Saturday Show and Tell at Cheerios and Lattes, Saturday Nite Special at Funky Junk Interiors, A Bouquet of Talent Party at Life on Lakeshore Drive, DIY Showcase Party at Minette's Maze, Share It One More Time at One More Time Events


No comments:
Post a Comment
I love hearing from you and read all of your comments. They make my day! I'm sorry I can't reply to every one of them, but I sure do love reading them and appreciate every one!