Showing posts with label burlap. Show all posts
Showing posts with label burlap. Show all posts
Tuesday, February 10, 2015
Thursday, April 10, 2014
Wednesday, February 19, 2014
The Crafting Party and My Blooming Burlap Canvas
Last Sunday while I was the guest blogger at the Hometalk and Michaels Pinterest party, I made this pretty little spring wall hanging. It really only required some hot glue and a tiny bit of painting. I needed easy while I was chatting with people about Hometalk and helping with crafts. This certainly fit the bill!
Tuesday, January 7, 2014
Thursday, December 5, 2013
Friday, August 30, 2013
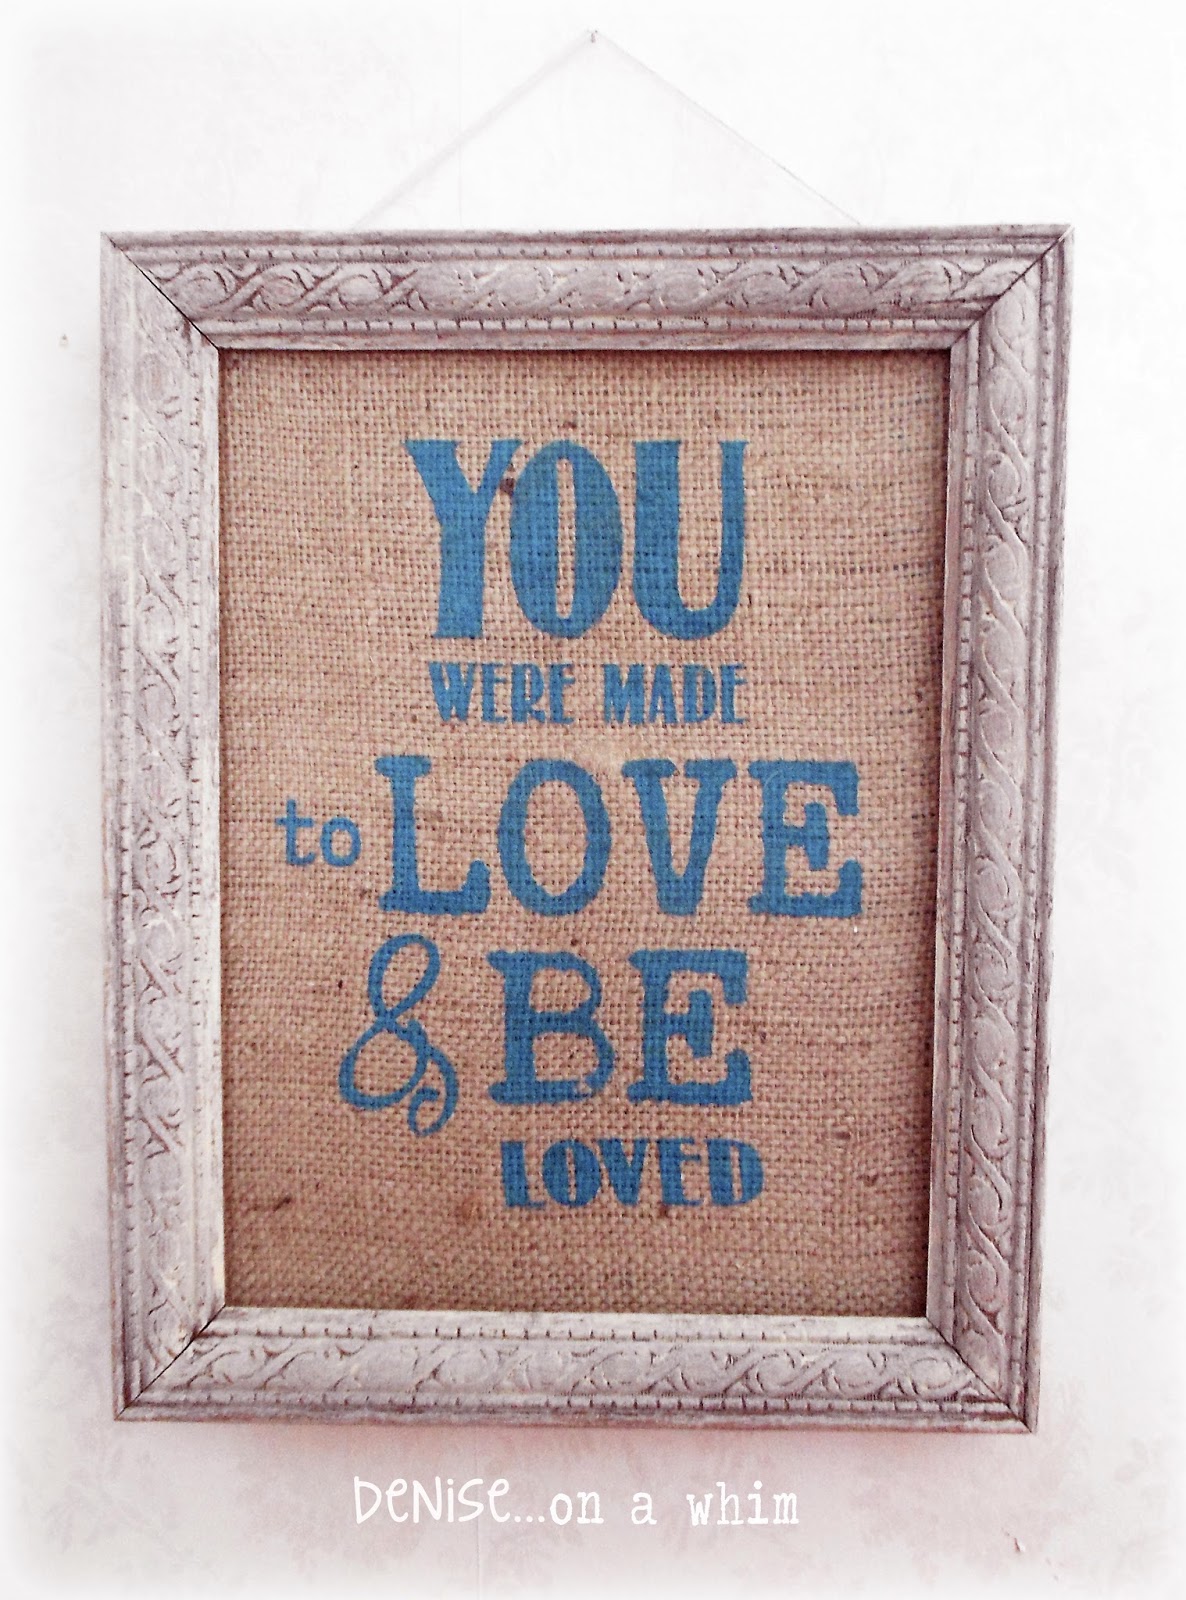
Love You More Chunky Sign
Chunky frames. I love them. And I don't find nearly enough of them. So, sometimes I just create my own, like this litlte guy!
Labels:
art,
Aubusson Blue,
burlap,
chalk paint,
decor,
frame,
graphite,
repurposed,
shabby,
signs,
upcycled
Wednesday, June 19, 2013
What I Love Most
I make pretty home decor, but the truth is, what I love most about my home isn't what's in it.
It's the love and laughter we share in it that matters.
I guess that's why I wanted to make this pretty burlap sign.
It's the love and laughter we share in it that matters.
I guess that's why I wanted to make this pretty burlap sign.
Friday, June 14, 2013
Chicken Wire Memo Board
I'm finally getting a chance to show you some of the projects I've been working on for this weekend's craft show!
Friday, May 10, 2013
A Custom Mother's Day Gift
In honor of Mother's Day, I wanted to share with you this custom sign we made for a friend of mine.
She sent me the poem a while ago and asked if we could make something rustic for her Mother in Law.
Yeah... we do rustic. :)
I first laid the poem out in Adobe Illustrator to set the text up in a pleasing way.
Then I cut a stencil.
I painted the leftover banner material with ASCP Old White and then Coco, adding some dark wax over that. I normally don't put wax on this material, but I just love Coco with dark wax on it.
Next I laid out the stencil and painted the serif text in Graphite and the script in Aubusson Blue.
That part was done.
Next up, Eric made a frame with pallet wood. I asked him to make it slightly larger than need be so I could put a burlap matte around the canvas.
I stained the frame and, once dried, measured my burlap out and cut it, also cutting the inside portion out to about the size I wanted it. I then placed it on the back of the frame, making sure to check to flip it over before stapling to be sure it was relatively straight along the inside edge of the frame. I stapled it onto the back at the corners. Then I added the banner, stapling that, along with the burlap, along the whole edge all the way around. I trimmed up the inside of the burlap then, just to straighten the line a bit.
My friend thinks her Mother in law will love it.
I certainly hope so!
I'm happy with the burlap matte.
I had never tried it before but it turned out really cute.
Happy Mother's Day to all of you!
Hope you have a great one!
Labels:
Aubusson Blue,
burlap,
chalk paint,
coco,
decor,
design,
DIY,
frame,
old white,
pallet,
phrase,
repurposed,
stained,
wood
Monday, April 1, 2013
A Charming Picket Fence
Today I'd like to show you a quick piece of decor I made with those.
I snagged a couple pieces of garden picket fencing from a sale last summer. I previously used one to make a little sign. But the 2nd one has just been sitting around. Waiting.
Once I started making these cute and easy little wire flowers, I got inspired!
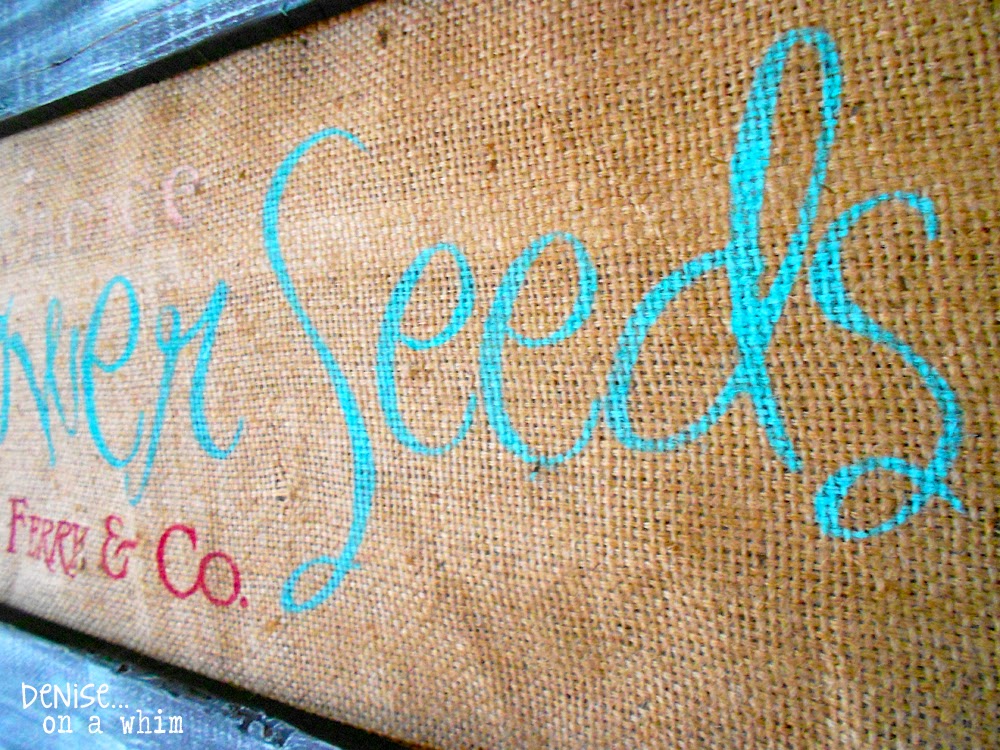
So I took out some burlap, roughly marked off where it would show between the pickets, and alternately painted it with Barcelona Orange and Johnston Daffodil.
I painted a light coat of Santa Fe Turquoise over the fencing and attached my burlap to the back, trimming it off after I had stapled it on.
My wire flowers were all set to go. I had used buttons that would coordinate with my paint colors for this piece. And I painted a little Johnston Daffodil on the flowers I was going to place over the orange, just to make them pop a little more.
I simply attached them by sewing them onto the burlap and this cute little piece was finished.
This charming little picket fence is the perfect match for our shutter shelf and crafty spring bouquets!
I'm loving how this turned out. Hope you do too!
If you haven't liked our facebook page yet, you can do that here.
And you can follow me on Pinterest with this link.
To get my new posts at bloglovin', just click this.
Have a great day!
And make sure to stop back by tomorrow at 7pm central time, when I will be co-hosting the {wow me} wednesday linky party with GingerSnap Crafts! {so excited!}
Have a great day!
And make sure to stop back by tomorrow at 7pm central time, when I will be co-hosting the {wow me} wednesday linky party with GingerSnap Crafts! {so excited!}
Everyone loves a great party! Check out these parties for some great inspiration!
Masterpiece Monday at Boogieboard Cottage, Mop It Up Monday at I Should Be Mopping the Floor, Make the Scene Monday at Alderberry Hill, Pink Hippo Party at Pinkapotamus, Monday No Rules Blog Hop at A Sorta Fairytale,Just Something I Whipped Up at The Girl Creative, Metamorphasis Monday at Between Naps on the Porch, Making the World Cuter Monday, Before and After at Thrifty Decor Chick (first Monday of the month), What's in the Gunny Sack at the Gunny Sack, Make It Pretty Monday at The Dedicated House, Mod Mix Monday at Mod Vintage Life, Budget Decorating Party at Creative Cain Cabin, That DIY Party at DIY Showoff, The DIY'ers Link Party at Home Coming
One Project at a Time at A Bowl Full of Lemons, Transformation Tuesday at The Ironstone Nest, Monday Funday at Creatively Living, Nifty Thrifty Tuesday at Coastal Charm, The Scoop at Cedar Hill Ranch, Project Inspired{d}at Cupcakes and Crinoline, You're Gonna Love It at Kathe with an E, Transformed Tuesdays at PJH Designs, Tweak It Tuesday at Cozy Little House, Take a Look Tuesday at Sugar Bee Crafts, Primp Your Stuff Wednesday at Primp Junktion, Be Inspired at Elizabeth and Co, Pretty Things Link Party at twelveOeight, Time to Shine at A Diamond in the Stuff, Too Cute Tuesday at Funky Polkadot Giraffe, The Power of Paint Party at Domestically Speaking, Creatively Tuesday at The Rustic Pig, Show Me What You Got at Not Just a Housewife, Share It Link Party at The Winthrop Chronicles, Tasteful Tuesday at Naptime Creations, Tutorial Tuesday at Hope Studios, Trash 2 Treasure at Kammy's Korner, Fluster's Creative Muster Party at Fluster Buster, The Creative Spark at Clean and Scentsible, Homemade by You at Made To Be a Momma
Wildly Original Link Party at I Gotta Create, Wow Us Wednesday at Family Home and Life, Whatever Goes Wednesday at Someday Crafts, Whimsy Wednesday at Smart School House, What's It Wednesday at Ivy and Elephants, Wednesday Whatsits at White Lights on Wednesday, What We Accomplished Wednesday at Green Willow Pond, Under $100 Linky Party at Beyond the Picket Fence, Show and Share at Southern Lovely, Wow Us Wednesdays at Savvy Southern Style, Wow Me Wednesday at Gingersnap Crafts, From Dream to Reality at The DIY Dreamer, Its' a Party! at A Creative Princess, Show Off Your Stuff Party at Fireflies and Jellybeans, Look What I Made Wednesday at Creations by Kara, Create and Share at The Trendy Treehouse, A Little Bird Told Me Link Party at The Life of Jennifer Dawn, Oh What a Happy Day Linky Party at Not Done Growing
Party Time at The 36th Avenue, Home Sweet Home at The Charm of Home, Transformation Thursday at The Shabby Creek Cottage, Share Your Cup Party at Have a Daily Cup of Mrs. Olson, Hookin' Up with HOH at House of Hepworths, Talkin' about Thursday at Designed Decor, Live Laugh Linky at Live Laugh Rowe, Home and Garden Thursday at A Delightsome Life, The Inspiration Gallery at Craftberry Bush, Made U Look Linky at Made in a Day, Creative Things Thursday at The Vintage Farmhouse, Catch as Catch Can at My Repurposed Life, Time Travel Thursday at The Brambleberry Cottage, Catch a Glimpse Party at A Glimpse Inside, 52 Mantels, Creative Inspirations Linky Party at Embracing Change, Creative Things Thursday at The Vintage Farmhouse
Simply Creations Link Party at My Simple Homelife, Furniture Feature Friday at Miss Mustard Seed, Inspire Me Please Link Party at Liz Marie Blog, Frugal Friday at The Shabby Nest, Feathered Nest Friday at French Country Cottage, What Have You Redone at Redoux Interiors, Home Sweet Home at The Charm of Home, Thrifty Things Friday at The Thrifty Groove, Simple and Sweet Fridays at Rooted inThyme, Be Inspired at Common Ground, Faunt It Friday at Chic on a Shoestring Decorating, Frugalicious Friday at Finding Fabulous, Fabulously Creative Friday at Jennifer Rizzo, Show and Tell Friday at Romantic Home, Junkin' Joe Vintage and Thrifty Finds at The Cottage Market, Weekend Wrap-Up Party at Tatertots and Jello, Shabbilicious Friday Link Party at Shabby Art Boutique, Tickled Pink at 504 Main, Anything Blue Friday at The Dedicated House, Rustic Restorations Weekend Link Party at Homespun Happenings
Saturday Show and Tell at Cheerios and Lattes, Saturday Nite Special at Funky Junk Interiors, A Bouquet of Talent Party at Life on Lakeshore Drive, Strut Your Stuff Party at Six Sisters' Stuff, Show and Tell Saturday at Sassy little Lady, Get Schooled Satuday at Too Much Time on My Hands, Power of Pinterest Party at Fox Hollow Cottage, Your Great Idea Party at Or So She Says, Overflowing with Creativity party at It's Overflowing, Craft Country Cottage Party at Old Red Barn, Saturday SHOW-licisou Craft Showcase at Sew-licious
The Sunday Showcase Party at Under the Table and Dreaming, Sunny Simple Sundays Party at Sunny Simple Life, Sundae Scoop at I Heart Naptime, Think Pink Sundays at Flamingo Toes, Nifty Thrifty Sunday at Nifty Thrifty Things, It's Party Time at Three Mango Seeds, Restyled Sundays at Stylish Once Again, Silver Pennies Sundays at Silver Pennies, Frugal Crafty Home Blog Hop at A Blossoming Life
Labels:
aqua,
Barcelona Orange,
Blessings,
burlap,
CeCe Caldwell Paints,
chalk paint,
decor,
DIY,
flowers,
Johnston Daffodil,
paint,
repurposed,
rustic,
Santa Fe Turquoise,
shabby,
upcycled,
weathered,
wire,
wood
Thursday, March 28, 2013
A Crafty Spring Bouquet
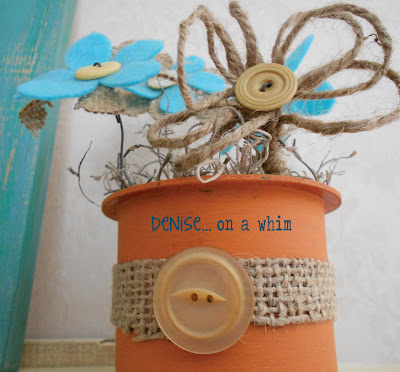
Today I want to tell you how I made these pretty little felt and burlap flowers.
I'm not always the best flower maker. I've tried some different flower tutorials and had varying success. Sometimes I see diy flowers and they are so, so pretty so I try my hand at them and they end up not resembling a flower at all!
The best luck I've had with flowers until now were the flowers I made for our Live Simply Shutter project, which you can find here.
First, let me tell you a little about the vases I made for this project. These are actually plastic pieces that come in the ends of our vinyl tubes at work. We throw them out all the time. Awhile ago, I brought some home, because I just knew there must be someway to repurpose them. It just took me awhile to figure out how!
For this project, I simple painted them with chalk paint. One is Annie Sloan Barcelona Orange and the other is Ce Ce Caldwell Santa Fe Turquoise. Then I just added a piece of scrap burlap and an old button to each with some gorilla glue and clamps.
Next thing to do was make the flowers.
It was very easy, believe me. I cut some burlap and some felt in the shapes of daisy petals. Just free-handed it because they don't need to be perfect by any means. The only thing you need to be aware of, is leaving enough burlap left in the middle of the flower so that it won't end up falling apart. Since it's burlap, it will fringe off and if you don't have enough fabric intact in the middle, you might loose a petal or two!
After everything was cut out, I picked out my buttons and then simply took some lower gauge wire that I had on hand, cut it long enough for a stem and poked it up through the burlap, felt and button hole. I then bent it, poked it back down through the 2nd button hole and through the material until it was far enough so that I could twist the 2 wires together underneath the flower. Before you twist, just give each side a little tug so the wire is tight against the button on the top of the flower.
The best thing about adding the button, is that it hides any flaws you might have in the shape of your flower. All you can see are the petals, so if you cut a strange shaped flower that looks all wrong to you, don't throw it away. Chances are, it will look perfect when everything is together!
The best thing about adding the button, is that it hides any flaws you might have in the shape of your flower. All you can see are the petals, so if you cut a strange shaped flower that looks all wrong to you, don't throw it away. Chances are, it will look perfect when everything is together!
And then you're done! I put a little spanish moss into my upcycled vases and added my flowers.
I love them! They are one of my favorite things to look at in the house right now :)
Later this week I will share a tutorial with you on how to make the wire flowers I used for decoration on our repurposed mail holder shutter. Those are super easy too!
If you haven't liked our facebook page yet, you can do that here.
And you can follow me on Pinterest with this link.
To get my new posts at bloglovin', just click this.
Most of all, have a great day!
Labels:
aqua,
Barcelona Orange,
burlap,
CeCe Caldwell Paints,
chalk paint,
decor,
DIY,
flowers,
junk,
paint,
recycled,
repurposed,
rustic,
Santa Fe Turquoise,
shabby,
twine,
upcycled
Wednesday, February 13, 2013
Live Simply... A Simple Craft Project
I purchased this little shutter at a local barn sale. It was previously painted black and I just wasn't sure what I was going to do with it. But, I figured I would think of something. And why pass up a cute shutter if you have the chance to buy one for cheap? :)
One day I finally decided to give it a coat of Annie Sloan™ Old White paint. It sure brightened it up from the old black that was on there. And, suddenly, I got inspired!
I had made previously some burlap flowers with vintage buttons from a tutorial I'd seen on Pinterest. I pulled those out and attached them to the shutter.
I loved the simplicity of this little project. So I decided to add some simple text too. :)
I used my scrapbook stencils to pencil them on and then painted over the pencil with Graphite.
Hope you like it :)
{and if you do, go ahead and like our fb page too...
We're sharing this shutter at
Labels:
burlap,
chalk paint,
decor,
DIY,
graphite,
old white,
phrase,
repurposed,
shutter,
simple,
thrift,
upcycled
Lowell, Mich
Lowell, Michigan, United States
Wednesday, January 16, 2013
Love Is Sweet and All That Jazz!
Wow. It has been ages since I've been able to sit down and write! With the holidays and year-end tax stuff and some other things I've been doing, I've been slightly preoccupied! So today I thought I had better make some time to write a quick post. I'll tell you right now, I picked a bad day for it! Too many things going on today for this. But, sometimes you have to just charge forward and get it done or it will never, ever get done! :)
I've been listing a few items on our etsy store, so I have Valentine's decor on the brain! Today I'm just going to share with you a few new luuuve signs.
It's amazing what a thrift store frame, some canvas and some paint can do!
Or some burlap and a few simple words...
You can even add a few scrap pieces of plastic into the mix and some string... :)
Hope you like some of our new products. Have a happy Wednesday! Now, I'm back to more painting!
Labels:
burlap,
chalk paint,
decor,
hearts,
love,
phrase,
repurposed,
Repurposing,
signs,
teal,
thrift,
upcycled,
valentine,
wood
Subscribe to:
Posts (Atom)


