Showing posts with label junk. Show all posts
Showing posts with label junk. Show all posts
Tuesday, February 4, 2014
Monday, January 27, 2014
Friday, January 3, 2014
Monday, November 25, 2013
Tuesday, October 29, 2013
Bike Wheel Rag Wreath
Tuesday, October 15, 2013
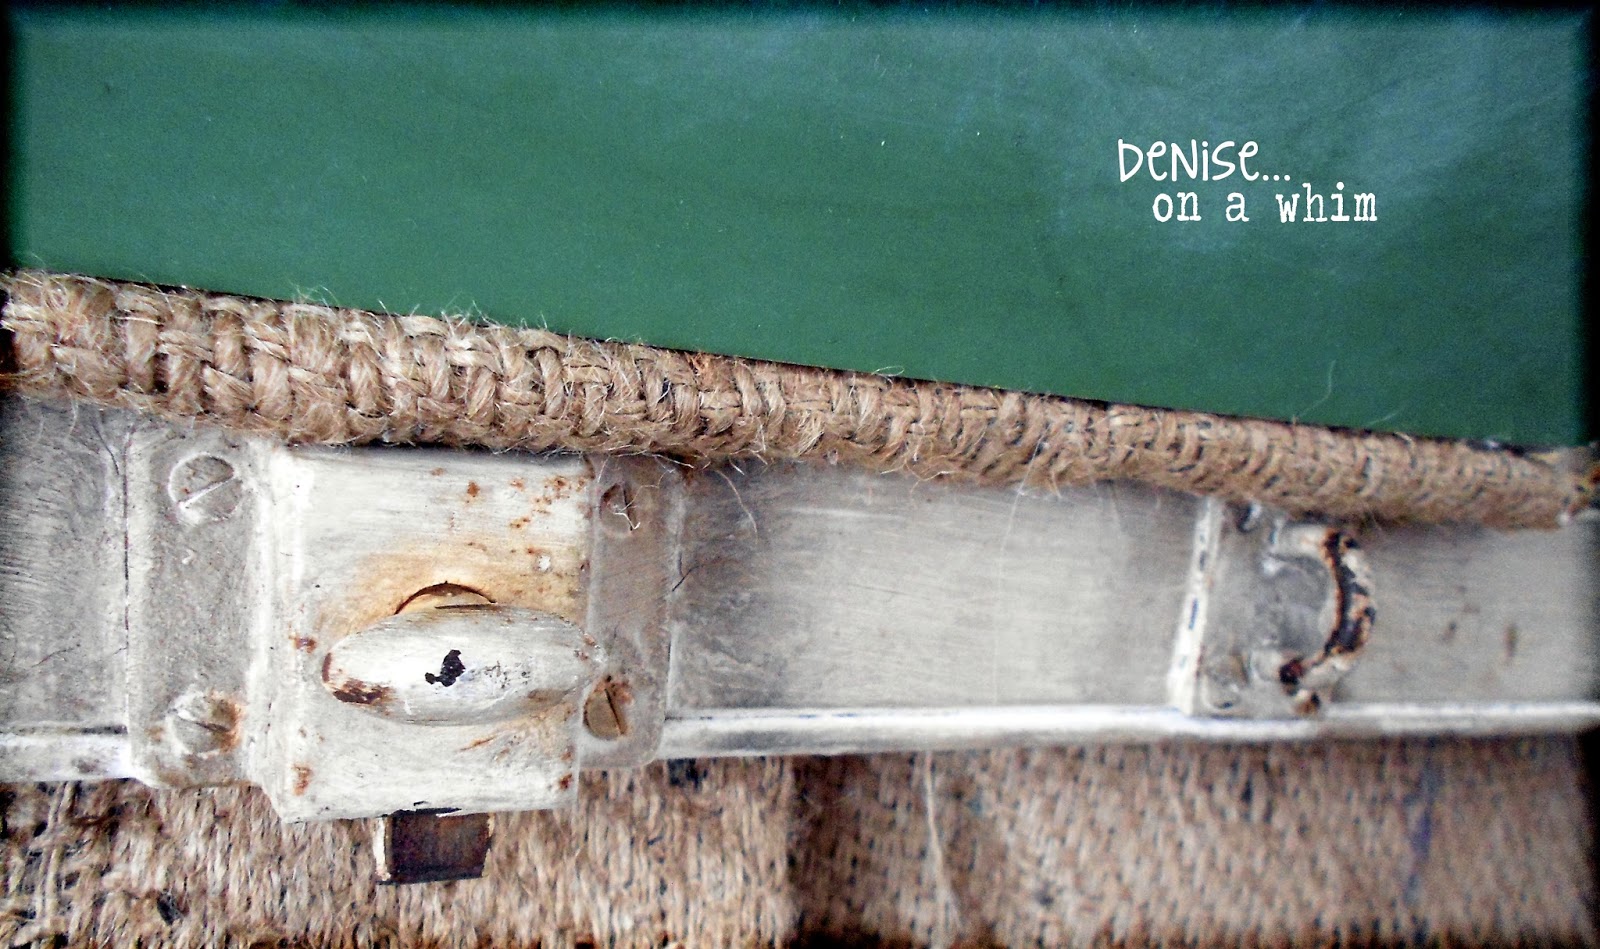
Roadside Rescue Chalkboard
Sometimes you find the prettiest little things on the side of the road. This project was constructed with the donations from a few different households. People throw out some amazing things!
Labels:
chalkboard,
junk,
organizing,
repurposed,
rustic,
upcycled,
Vintage White,
wood
Monday, October 7, 2013
A Junky Fruit Bowl
Boy, am I glad I picked up a broken metal base at a yard sale a few weeks ago! It turned into something I'm absolutely loving... this junky fruit bowl!
Labels:
junk,
metal,
Pittsburgh Gray,
upcycled,
vintage,
Vintage White
Friday, September 13, 2013
Bundt Pan Punkin'
I must a have thing for vintage bundt pans because I always seem to have 1 or 2 lying around the house. Good thing I do, too, because I love my new little punkin'!
Tuesday, August 27, 2013
I'm Officially a Junkin' Jewel!
I'm so excited to announce that little ol' me is part of a series at The Inspiration Cafe called Junkin' Jewels! I feel all big-time and stuff now :)
Monday, August 19, 2013
Industrial Cabinet Goodness!
Some of my favorite decor pieces are industrial. I just love the look of metal and wood together in perfect harmony. And, if you ask me, we don't do nearly enough of them! But I'm sharing one with you today that I hope you like!
Labels:
Aubusson Blue,
cabinet,
chalk paint,
decor,
drawers,
duck egg,
Emerald Isle Green,
hardware,
industrial,
junk,
metal,
repurposed,
rusty,
stained,
upcycled,
wood
Lowell, Mich
Lowell Township, MI 49331, USA
Thursday, August 15, 2013
Junk Style Vase
I love it when I find a cute use for my stash of tin cans. I sometimes feel like such a hoarder when I look at the little corner of my kitchen counter where I have clean cans and jars. But the hoarding feels worth it when I finally use one to make something, like this cute little flower vase from an old slotted metal spoon, a tin can and a piece of scrap wood.
Labels:
button,
chalk paint,
flowers,
junk,
repurposed,
upcycled,
vase
Monday, August 12, 2013
Finally Buying a Few Pieces for Me!
I finally did it! I bought something for me to keep. I normally see things that I like and want for myself but pass them up to buy goodies I can use for our business. But not this time!
Monday, July 15, 2013
A Farmhouse Style Pie Safe
I've always wanted to pick up a pie safe. There's just something so farmhouse about them. But my cheap (make that frugal-it sounds better) nature never allows me to pay the piper for one. So when I picked up a $5 piece of junk from a yard sale, my first thought was to turn it into a pie safe. And that's just what we did!
Labels:
CeCe Caldwell Paints,
chalk paint,
decor,
DIY,
farmhouse,
Furniture,
hardware,
junk,
makeover,
paint,
pallet,
repurposed,
rustic,
shabby,
upcycled,
Vintage White,
wood
Friday, May 3, 2013
We Hit the Motherload!
We have really accumulated a lot of stuff this week! Oh my indeed! My garage is absolutely filled to capacity (and I still have to add another dresser! lol).
Just look at the stuff we found/bought on the cheap/received this week...
First up, is this old barn pulley.
And this fabulous vintage trunk.
Both traded for something Eric had. No cost. :)
Then there's this child's desk and hutch.
And coordinating mirror.
All 3 were curbside pick ups!
And we have this old boy.
With his matching mirror.
Alas, this one is not ours.
But we get to redo it for its owner nonetheless! :)
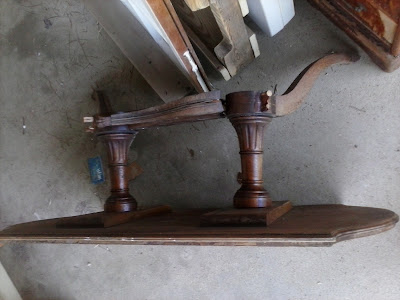
I found this poor thing on the side of the road.
She's feeling rather poorly.
But the top has a beautiful shape
(perfect as a sign/hookboard/shelving unit/whatever!)
And just look at her legs!
I know we will use these pieces for something amazing!
And last, but not least, the big score!
We have a friend who sets up the rummage sale at her church.
Wouldn't you know it... we got in on the presale!
9 gorgeous pieces.
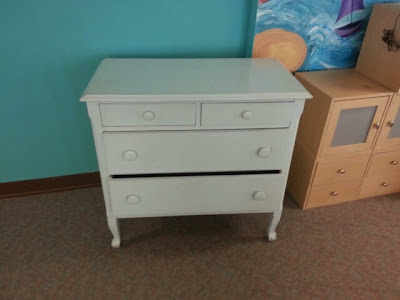
Plus this white dresser that hasn't made it to my house yet.
See how lovely these chairs are?
2 of them match. 2 of them don't.
But they all have beautiful detail!
And check out this little lady!
Must be some kind of sewing storage unit.
See the cute little drawer cubby in there?
So sweet!
And all 10 pieces for just $112!
See? I told you...
We hit the Motherload!
Hooray!
Hope you all have a great weekend.
I have a feeling I'm going to be very {very!} busy! lol
Wednesday, May 1, 2013
A Few Junky Office Accessories
Earlier this week, I showed you this old crate we made into a desktop organizer.
You can see that project here.
Today I'm going to share the accessories I made to go along with it.
This little tiered organizer is made from a piece I sawed off an old chair leg (the aqua piece on the very top), part of a table leg (the orange part) and some metal kitchen molds (maybe?) that I picked up at our local thrift store.
I always like the look of the tiered stands people make out of bundt pans and such. So when I saw these molds, I thought they would work great for a mini version!
I painted the outside of the molds with Santa Fe Turquoise and used E6000 to adhere the bottom piece to the old table leg Eric had cut to size for me. The top was a little trickier. The spindle was not wide enough in diameter to glue the metal to it. So I made a trip to the hardware and found a rubber washer with the right inside diameter. Then I glued that to the spindle and the metal mold to the rubber washer.
I then added some lettering...
You can't use up creativity. The more you use, the more you have. (Maya Angelou)
It's just printed off the laser jet onto regular paper, cut it and Mod Podged onto the metal.
I figured a desk needs a pencil holder, right?
So I painted this tin can with Destin Gulf Green, added a pretty brown ribbon with aqua sequins and one of my leftover wire flowers from a previous project.
This pencil holder looks so cute sitting there in our new pretty desktop organizer!
We also made an easel clipboard out of some leftover barn wood.
I'l be sharing that with you tomorrow so be sure to visit again:)
If you haven't liked our facebook page yet, you can do that here.
And you can follow me on Pinterest with this link.
To get my new posts at bloglovin', just click this.
Getting new followers and comments absolutely makes my day! :)
Partying at Anything Blue Friday at The Dedicated House
Partying at Anything Blue Friday at The Dedicated House
Labels:
aqua,
Barcelona Orange,
button,
CeCe Caldwell Paints,
chalk paint,
decor,
desk,
Destin Gulf Green,
DIY,
flowers,
junk,
metal,
Mod Podge,
organizing,
repurposed,
Santa Fe Turquoise,
upcycled,
wire
Thursday, March 28, 2013
A Crafty Spring Bouquet
Today I want to tell you how I made these pretty little felt and burlap flowers.
I'm not always the best flower maker. I've tried some different flower tutorials and had varying success. Sometimes I see diy flowers and they are so, so pretty so I try my hand at them and they end up not resembling a flower at all!
The best luck I've had with flowers until now were the flowers I made for our Live Simply Shutter project, which you can find here.
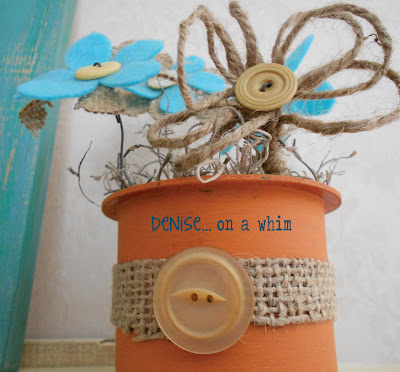
First, let me tell you a little about the vases I made for this project. These are actually plastic pieces that come in the ends of our vinyl tubes at work. We throw them out all the time. Awhile ago, I brought some home, because I just knew there must be someway to repurpose them. It just took me awhile to figure out how!
For this project, I simple painted them with chalk paint. One is Annie Sloan Barcelona Orange and the other is Ce Ce Caldwell Santa Fe Turquoise. Then I just added a piece of scrap burlap and an old button to each with some gorilla glue and clamps.
Next thing to do was make the flowers.
It was very easy, believe me. I cut some burlap and some felt in the shapes of daisy petals. Just free-handed it because they don't need to be perfect by any means. The only thing you need to be aware of, is leaving enough burlap left in the middle of the flower so that it won't end up falling apart. Since it's burlap, it will fringe off and if you don't have enough fabric intact in the middle, you might loose a petal or two!
After everything was cut out, I picked out my buttons and then simply took some lower gauge wire that I had on hand, cut it long enough for a stem and poked it up through the burlap, felt and button hole. I then bent it, poked it back down through the 2nd button hole and through the material until it was far enough so that I could twist the 2 wires together underneath the flower. Before you twist, just give each side a little tug so the wire is tight against the button on the top of the flower.
The best thing about adding the button, is that it hides any flaws you might have in the shape of your flower. All you can see are the petals, so if you cut a strange shaped flower that looks all wrong to you, don't throw it away. Chances are, it will look perfect when everything is together!
The best thing about adding the button, is that it hides any flaws you might have in the shape of your flower. All you can see are the petals, so if you cut a strange shaped flower that looks all wrong to you, don't throw it away. Chances are, it will look perfect when everything is together!
And then you're done! I put a little spanish moss into my upcycled vases and added my flowers.
I love them! They are one of my favorite things to look at in the house right now :)
Later this week I will share a tutorial with you on how to make the wire flowers I used for decoration on our repurposed mail holder shutter. Those are super easy too!
If you haven't liked our facebook page yet, you can do that here.
And you can follow me on Pinterest with this link.
To get my new posts at bloglovin', just click this.
Most of all, have a great day!
Labels:
aqua,
Barcelona Orange,
burlap,
CeCe Caldwell Paints,
chalk paint,
decor,
DIY,
flowers,
junk,
paint,
recycled,
repurposed,
rustic,
Santa Fe Turquoise,
shabby,
twine,
upcycled
Thursday, March 14, 2013
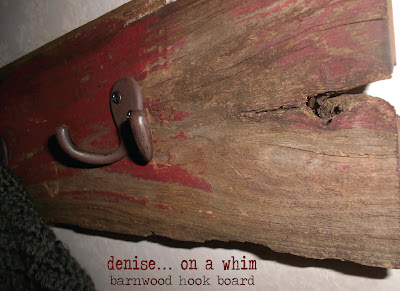
Barn Wood Hook Board
The other day I showed you the leaded glass window shelf we made for my friend Karlye. Well, she also wanted some hooks to hang below a piece of decor she had already purchased for her home. She requested barn wood for the hook board. And she was in luck! I just happened to have a few pieces in my garage waiting to be plucked and turned into something fabulous!
She chose this piece with the chippy red paint. Love her choice!
Eric cut the board to the correct size, just a little wider than the piece of decor she wanted to put this under. I made sure to mark where I wanted him to make the cuts so we could keep intact the cool uneven part you see on the left hand side of this pic...
Not to mention, how cool is this old knot on the other side?
I added some dark stain to the edges where Eric had made the cut. The board was old enough that it was looking slightly worn all the way through, but I thought the stain would make anyone forget that we had made the cut at all. It did the trick!
Karlye had also given me these double hooks for the board. But she had purchased them new at the store and they looked, well, brand-spanking new! I used some Ce Ce Caldwell's Virginia Chestnut on those to grunge them up a bit and then I waxed them and attached 5 hooks to the board, offsetting them so they weren't all in a straight line.
I love how this turned out! Just as much as I love the window shelf we made for her. I think that the next time Karlye asks me to make something, I'm just going to have to make 2 of them and keep one for myself! :)
Everyone loves a good party!
Check my project out along with other great inspiration, at these great blogs...
Check my project out along with other great inspiration, at these great blogs...
Masterpiece Monday at Boogieboard Cottage, Mop It Up Monday at I Should Be Mopping the Floor, Make the Scene Monday at Alderberry Hill, Pink Hippo Party at Pinkapotamus, Monday No Rules Blog Hop at A Sorta Fairytale,Just Something I Whipped Up at The Girl Creative, Metamorphasis Monday at Between Naps on the Porch, Making the World Cuter Monday, Before and After at Thrifty Decor Chick (first Monday of the month), What's in the Gunny Sack at the Gunny Sack, Make It Pretty Monday at The Dedicated House, Mod Mix Monday at Mod Vintage Life, Budget Decorating Party at Creative Cain Cabin, That DIY Party at DIY Showoff
One Project at a Time at A Bowl Full of Lemons, Transformation Tuesday at The Ironstone Nest, Monday Funday at Creatively Living, Nifty Thrifty Tuesday at Coastal Charm, The Scoop at Cedar Hill Ranch, Project Inspired{d}at Cupcakes and Crinoline, You're Gonna Love It at Kathe with an E, Transformed Tuesdays at PJH Designs, Tweak It Tuesday at Cozy Little House, Take a Look Tuesday at Sugar Bee Crafts, Primp Your Stuff Wednesday at Primp Junktion, Be Inspired at Elizabeth and Co, Pretty Things Link Party at twelveOeight, Time to Shine at A Diamond in the Stuff, Too Cute Tuesday at Funky Polkadot Giraffe, The Power of Paint Party at Domestically Speaking, Creatively Tuesday at The Rustic Pig, Show Me What You Got at Not Just a Housewife, Share It Link Party at The Winthrop Chronicles, Tasteful Tuesday at Naptime Creations, Tutorial Tuesday at Hope Studios, Trash 2 Treasure at Kammy's Korner, Fluster's Creative Muster Party at Fluster Buster, Upcycled Link Party at Love 2 Upcycle
Wildly Original Link Party at I Gotta Create, Wow Us Wednesday at Family Home and Life, Whatever Goes Wednesday at Someday Crafts, Whimsy Wednesday at Smart School House, What's It Wednesday at Ivy and Elephants, Wednesday Whatsits at White Lights on Wednesday, What We Accomplished Wednesday at Green Willow Pond, Under $100 Linky Party at Beyond the Picket Fence, Show and Share at Southern Lovely, Wow Us Wednesdays at Savvy Southern Style, Wow Me Wednesday at Gingersnap Crafts, From Dream to Reality at The DIY Dreamer, Its' a Party! at A Creative Princess, Show Off Your Stuff Party at Fireflies and Jellybeans, Look What I Made Wednesday at Creations by Kara
Party Time at The 36th Avenue, Home Sweet Home at The Charm of Home, Transformation Thursday at The Shabby Creek Cottage, Share Your Cup Party at Have a Daily Cup of Mrs. Olson, Hookin' Up with HOH at House of Hepworths, Talkin' about Thursday at Designed Decor, Live Laugh Linky at Live Laugh Rowe, Home and Garden Thursday at A Delightsome Life, The Inspiration Gallery at Craftberry Bush, Made U Look Linky at Made in a Day, Creative Things Thursday at The Vintage Farmhouse, Catch as Catch Can at My Repurposed Life, Time Travel Thursday at The Brambleberry Cottage, Catch a Glimpse Party at A Glimpse Inside, 52 Mantels, Creative Inspirations Linky Party at Embracing Change
Simply Creations Link Party at My Simple Homelife, Furniture Feature Friday at Miss Mustard Seed, Inspire Me Please Link Party at Liz Marie Blog, Frugal Friday at The Shabby Nest, Feathered Nest Friday at French Country Cottage, What Have You Redone at Redoux Interiors, Home Sweet Home at The Charm of Home, Thrifty Things Friday at The Thrifty Groove, Simple and Sweet Fridays at Rooted inThyme, Be Inspired at Common Ground, Faunt It Friday at Chic on a Shoestring Decorating, Frugalicious Friday at Finding Fabulous, Fabulously Creative Friday at Jennifer Rizzo, Show and Tell Friday at Romantic Home, Junkin' Joe Vintage and Thrifty Finds at The Cottage Market, Weekend Wrap-Up Party at Tatertots and Jello, Shabbilicious Friday Link Party at Shabby Art Boutique, Tickled Pink at 504 Main
Saturday Show and Tell at Cheerios and Lattes, Saturday Nite Special at Funky Junk Interiors, A Bouquet of Talent Party at Life on Lakeshore Drive, Strut Your Stuff Party at Six Sisters' Stuff, Show and Tell Saturday at Sassy little Lady, Get Schooled Satuday at Too Much Time on My Hands, Power of Pinterest Party at Fox Hollow Cottage, Your Great Idea Party at Or So She Says, Overflowing with Creativity party at It's Overflowing, Craft Country Cottage Party at Old Red Barn
The Sunday Showcase Party at Under the Table and Dreaming, Sunny Simple Sundays Party at Sunny Simple Life, Sundae Scoop at I Heart Naptime, Think Pink Sundays at Flamingo Toes, Nifty Thrifty Sunday at Nifty Thrifty Things, It's Party Time at Three Mango Seeds, Restyled Sundays at Stylish Once Again
Wednesday, February 27, 2013
Message Center {from a repurposed crate lid}
Meet our new message center.
This little beauty was made from a crate lid that Eric's boss was going to throw away (crazy people!). Thank goodness both his boss and mine are getting used to us collecting their trash. They've actually started asking us if we want stuff before trying to throw it away now! :)
Here is the message center before we did anything to it.
Just a plain, old crate lid. But loaded with potential!
I knew right away that is was completely perfect to make into a multi-purpose center for organizing notes and memos.
The first thing I did was paint the chalkboard area. Then I painted the frame in Coco ASCP™ and gave it a dry-brush coat of old white, just to add a little more texture. I put on a coat of both clear and dark aging wax, then added cork to the bottom inset.
I also knew I wanted some pegs or hooks on the bottom.
(In my house, there's always a need to hang up more stuff!)
Awhile back my boss had given me a coffee can full of miscellaneous hardware. Actually, he gave me 3 coffee cans full. I pulled these black knobs, if that's what you call them, out of the coffee can o'junk, made some measurements, drilled some holes and attached these to the bottom of the crate lid.
The message center was certainly coming together nicely. But it felt like it was missing something. So, I got out another coffee can. This one was full of plastic-covered magnetic cabinet door latches. It's also the very same can my boss said "you don't want this junk" about. Well, thank goodness I DID want that junk! Because those cabinet magnets certainly came in handy!
I took the metal pieces out of the plastic casings then used gorilla glue and clamps to attach them onto the top of the board. After they were dry, I pounded some great dark carpet tacks into the existing holes in the magnets.
I love the way this magnetic strip turned out!
The colors of the metals are great with the coco chalk paint.
Next, I cut some burlap and attached it to the inside of a few bottle caps, that had already been spray painted ivory, and glued magnet buttons to the backs.
I think these are the perfect little accessory for this piece! :)
I had purchased some pulls for this project because I really wanted to add these to the piece. Normally, we don't purchase anything. I suppose that every now and again it's ok. :)
The pulls came with screws that were too short. No problem. I went to the hardware store and bought longer screws. I even measured the depth of the wood before going so I would get the correct length. So much for my measuring skills! lol. The screws I purchased were still too short!
Man, was I bummed. I really wanted to finish this project and get some photos of it over the weekend, not have to make another trip to the store for more screws.
I got so fed up and irritated with myself about the lame-brain screw fiasco that I got the drill out, used my largest bit and, goll-darn it, if I didn't counter-sink those screws in the back of the board and get those pulls on after all! And all by my sweet little self, I might add!
Hooray for me!
I just might be getting the hang of this handy {wo}man stuff after all!
(But I'm still gonna leave the cutting and sawing to Eric.
I want to keep all of my fingers attached to my hand, after all!)
Hope you like the new message center!
Sharing...

What We Accomplished Wednesday at Green Willow Pond
From Dream to Reality at The DIY Dreamer
Creatively Tuesday at The Rustic Pig
Tweak It Tuesday at Cozy Little House
Show Me What Ya Got at Not Just a Housewife
Creative Things Thursday at The Vintage Farmhouse
Whatever Goes Wednesday at Someday Crafts
Show and Share at Southern Lovely
Wednesday Whatsits at White Lights on Wednesday
Whats It Wednesday at Ivy and Elephants
Wow Me Wednesday at Gingersnap Crafts
Whimsy Wednesday at Smart School House
Wow Us Wednesday at Family Home and Life
Wow Us Wednesdays at Savvy Southern Style
Home and Garden Thursday at A Delightsome Life
Transformation Thursday at The Shabby Creek Cottage
The Inspiration Gallery at Craftberry Bush
Catch as Catch Can at My Repurposed Life
Home Sweet Home at The Charm of Home
Catch a Glimpse Party at A Glimpse Inside
Crafty Thrusday at Kreative Kreationz
Tickled Pink at 504 Main
An Oldie but a Goodie at Cutesy Crafts
Labels:
chalk paint,
chalkboard,
chicken wire. memo board,
coco,
cork,
decor,
DIY,
graphite,
hardware,
industrial,
junk,
magnetic,
metal,
organizing,
recycled,
repurposed,
upcycled,
wood
Subscribe to:
Posts (Atom)

